Here’s a sunny concrete project
Florence Swanson, who owns Deep Flex Plastic Molds, Inc., in Murfreesboro, Tenn., tells DIY Network’s “Carol Swanson Show” about creating a smiling stone sundial stepping stone, using various types of paint, including patinas and whitewashes.
MATERIALS
10 pounds of dry Quikrete #1103
Scoop
Mixing tub containing two pounds of cold water
Seal-In
Plastic waste can
Terra Cotta dark casting pigment
Stepping-stone mold (sun image)
Pack of hangers
Electric drill with paint mixer/blade
Trim bin (to catch scraps as you trim)
Trim sponge
Large towel
Reye’s White-Wash
Paintbrush
Paper towels
Cheesecloth
Bottle of clear water for cleaning brush
Lay out casting supplies in an organized fashion.
Pre-measure all of the ingredients.
In the plastic waste can, pour pre-weighed water, one ounce of terra cotta casting pigment and 2 ounces of Seal-In.
Sprinkle the pre-weighed concrete into the water. A standard mix is one pound of water to six to seven pounds of concrete.
Mix the solution with an electric drill that has a paint propeller/blade attached.
When approximately two-thirds of the concrete is in the mixing tub, push your blending blades down until they touch the bottom of the tub, and steadily but slowly increase the speed of the drill.
Mix this for about 30 seconds, and then add any remaining concrete powder to the rest of the water, allowing the drill to continue running at a moderate speed.
Increase the speed slowly again until all the powder is damp. Then, increase the speed to as high as it will go without expelling concrete from the container. Let this high speed continue for two to three minutes, but not more than five minutes. The purpose is to thoroughly mix the water, concrete, and aggregate until it is completely homogenized and will remain suspended in the water. This is a very important and strategic stage of your project. Be sure that you mix long enough and at as high a speed as possible.
Remove the blending blades and electric tool from the mix and rinse and clean in water by gently turning it on but not at a high rate. Set this out of your way.
Since concrete usually has a very thick consistency, it likely to create air bubbles. To avoid this, mist the inside of your mold surface with Airid.
Pour a little of the slurry (the thick mix of concrete) into your mold and agitate the mold until its face is covered with the slurry.
Agitate the mold to release trapped air and bring it to the exposed surface of the plaster.
Fill the rest of the mold with the slurry. Do not overfill, but avoid extra trim work by filling to within 1/4 inch to 1/16 inch of the top edge of the mold.
Again, agitate the mold for a few seconds so the air on the inner sides comes to the surface.
If you plan to use this as a wall hanging, place a strong hanger (or two hangers to which a wire can be attached) on the back.
Allow piece to cure for at least 10 hours. More time may be necessary when we use additives, such as the casting pigments and the Seal-In, because they slow down the setting process.
Lay the mold (back side down) on a soft surface, such as a towel or stack of newspapers. Flex the edges of the mold while you steady it with your other hand, until you feel the vacuum break. Then, carefully lift the mold off the casting. Gently lift the casting (as it is weak at this point and could be damaged), then hold it over the trim bin and run the trim knife all the way around the edge.
Use the damp trim sponge to smooth and round the edges to prevent chipping. Repair any blemishes and leave it to cure.
The curing process can take several days, depending on humidity. Concrete actually takes up to 28 days to reach its maximum strength, but, if caution is used, a piece can be set out and walked on within a few days.
If desired, enhance the design by using a stain or a wash. If you are unsure of your staining skills, you may want to seal the stepping stone surface before applying the stain. The sealant, which must be suitable for outdoor use, will make it easy to correct any mistakes. Just wipe off your errors and start anew.
After you have sealed the piece, float some of the whitewash into the deepest areas of the design. With the cheesecloth, wipe off some of the whitewash and drag it over the upper part of the design. Although this step leaves all the creativity to you, the whitewash shouldn’t be everywhere. It is best in the lower parts of the design since this will make the design stand out more prominently.
If you are using an acrylic whitewash or stain, all you have to do is wipe down and let it dry. If you use an oil-based stain, cover the stain with an appropriate sealer.
Swanson’s Advice:
_ The plastic wastebasket is ideal for small batches of concrete: it is very flexible, has telescoping walls and is deep enough to help control flying concrete. Keeping the paint blades submerged in the concrete will also assist in this effort.
_ By dispersing the casting pigment and the Seal-In in the water before putting in the concrete, the color will be evenly distributed throughout the casting as will the sealer. The purpose of the Seal-In is to help the cured casting of concrete resist taking on water from rain and other elements. It makes the concrete more durable in harsh weather conditions, so in more temperate zones, the Seal-In isn’t as important.
_ Be sure your paint propeller is tightly fastened into the drill.
_ More than 15 pounds of concrete is not advisable with the electric drill. Use a mechanical mortar mixer or a wheelbarrow for more than 15 pounds of concrete.
_ For easy clean up, immediately rinse your mix tub and propeller blades.
_ To ensure consistent color in multiple castings, mix your water and color in large quantities and stir and measure as needed for each casting.
On the Web:
www.diynetwork.com
Home and Garden
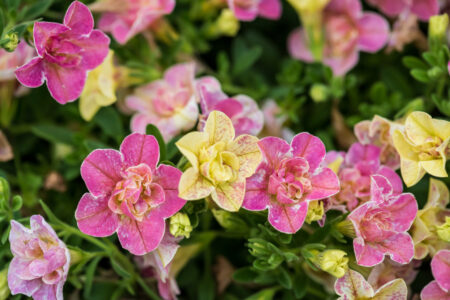
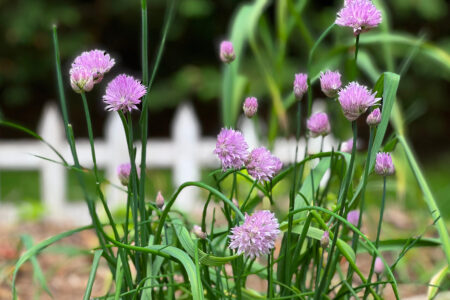
10 top performing new plants for this season
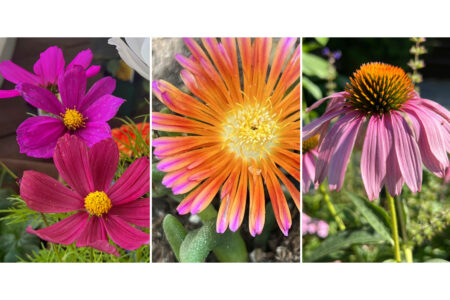
Flower gardens endure hot, dry summers better if you choose these plants
Debunking common garden hacks, quick fixes and myths

Douglas County Master Gardeners invites public to annual native plant sale
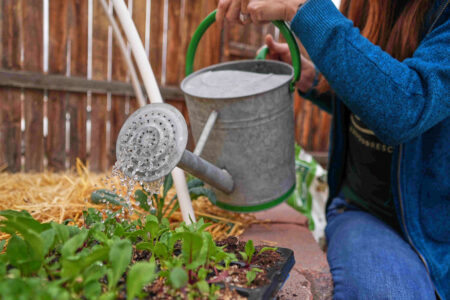
How to mulch your garden beds without harming plants