Fix-It Chick: Repair wall and ceiling cracks with Krack Kote
Repairing cracks in walls and ceilings can seem like an endless job. With weather changes and the passage of time, homes shift and settle, often reopening cracks that were previously repaired. Use Abatron’s Krack Kote plaster and drywall repair system to fix the problem once and for all.
Step 1: Fill cracks and crevices greater than 1/8 inch wide with joint compound. Do not use any other type of spackling or filler. Leave smaller cracks unfilled.
Step 2: Remove any loose material around the repair area. Sand the crack and the surrounding area to make it smooth to the touch. Krack Kote only works on clean and smooth surfaces.
Step 3: Use a non-residual cleaner such as TSP or Dirtex to clean the repair area.
Step 4: Stir the can of Krack Kote emulsion thoroughly. Add a small amount of water if necessary to create a smooth and spreadable paste.
Step 5: Brush Krack Kote over the crack, smoothing it about 2 inches out along either side of the crack.
Step 6: Unroll the Krack Kote bridge material and cut a length 2 to 3 inches longer than the crack.
Step 7: Press the bridge material into the Krack Kote emulsion. Completely embed the fabric into the Krack Kote.
Step 8: Use a putty knife or the Krack Kote spreader to smooth out any air bubbles and wrinkles, creating a smooth and seamless patch over the crack.
Step 9: Brush a second layer of Krack Kote over the repair, feathering the edges to blend in with the surrounding surface.
Step 10: The Krack Kote and bridge material should be smooth and tight against the surface, with no loose edges or imperfections. Allow the area to dry for 10 minutes.
Step 11: Brush a third layer of Krack Kote over the patched area.
Step 12: Use a putty knife or the Krack Kote spreader to smooth away any excess emulsion. The bridge material should not be visible in any way. Feather the edges of the patch to make it blend well with the surrounding area. Do not sand the Krack Kote patch. When repairing textured surfaces, the texture can be duplicated when applying the third coat of Krack Kote.
Step 13: Once the patch is dry, usually within an hour, prime the area with a good latex primer and paint to match the surrounding surface.
— Have a home improvement question for the Fix-It Chick? Email it to Linda Cottin at features@ljworld.com.
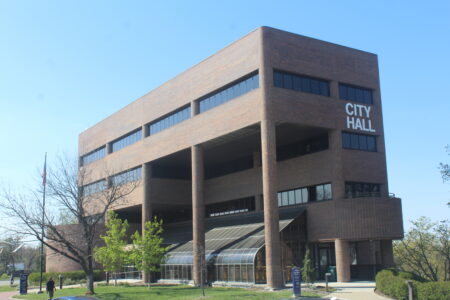
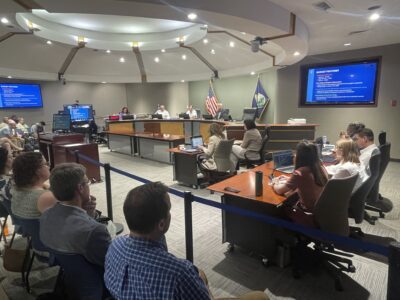
City Government
Would an Algerian sister city work? Only if Lawrence does the work, those with experience say

For Lawrence city staff, 2027’s budget is a ‘full-circle moment’ in more ways than one
Applications open for Affordable Housing Trust Fund; deadline to submit projects is Sept. 4
Lawrence’s acting city manager says roughly 2-mill increase in 2027 budget is a ‘last resort’; one commissioner wants to avoid it

Police department paid $1.7 million to county last year in jail costs; chief says that’s too much
