Behind the Lens: Christmas lights can be tricky to capture with camera

A downtown Lawrence scene taken at twilight catches an assortment of Christmas light displays while maintaining some detail in the storefronts. The exposure for this shot was F4.0 at 1/5th a second using 250 ISO setting. Even reproduced as black and white images you can see how the twilight shot maintains the quality of the Christmas lights and adds detail to the image.

Waiting until dark to photograph decorative light displays will reveal only the illumination of the bulbs and give little context to the environment in which the lights are hung.
Christmas light displays attract a lot of attention and are a popular subject for photographers. Whether you’re headed to the Plaza in Kansas City or just around your neighborhood, here are some tips on capturing the colorful displays.
Despite what you might think, the best time to photograph ornamental lights is not after dark. The ideal time is around twilight when there is a nice balance between natural light and the colorful illumination of the bulbs. A photograph taken past that point will reveal only the light bulbs and the outline of the object from which the lights hang. Photographing lights before total dark provides more detail and context to the scene and can be just as colorful. The only disadvantage to pursuing light displays in this manner is that your window of opportunity for gathering images will be much shorter. Here’s a preparation list to help get you started:
- Determine the approximate time for sunset and then plan on being at your display of choice near that time.
- Put your camera on a tripod or a steady support and frame up your subject. A low angle, to include sky in the background, will show off lights better.
- Turn off your flash.
- Most Christmas lights are tungsten balanced, so change your white balance setting to “tungsten.” If you don’t have that option, don’t fret – auto white balance will work fine.
- I prefer using ISOs no higher than 400. For finer resolution photos try 200 ISO.
- As the sky blue of twilight begins to darken take some test shots. You can use automatic exposure or try manual settings and bracket your shots. Exposures may range from 1/30th a second to a full second at apertures between f4.0 and f5.6. Experiment and then review your shots until you determine what you like.
- Wear a coat and gloves. Because your mom says so.
Arts and Entertainment
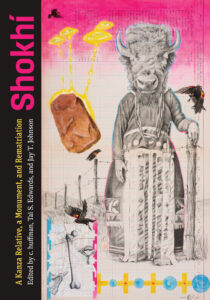
New book to reflect on lessons from project that returned sacred boulder to Kaw Nation

Rick Moranis gets standing ovation at ‘Spaceballs’ sequel Comic-Con panel

Hundreds celebrate the unveiling of 20 new benches created by Van Go artists
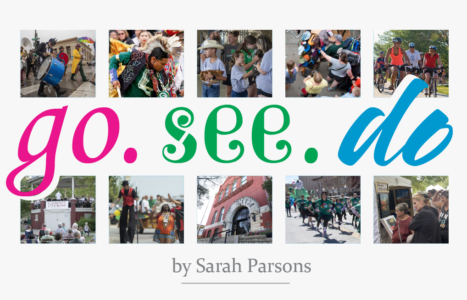
Go, See, Do: County fair, farmers markets, theater and more
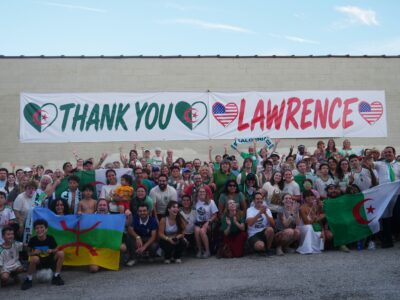
Granada Theater set to host community celebration in August celebrating bond between Algeria and Lawrence
