Behind the Lens: Great snow photos about finding the right exposure

When photographing bright subjects like snow, I compensate my exposure by slightly overexposing to maintain the whiteness of the scene. A camera meter renders all subjects in middle gray based on light reflected from an object. In situations like snow, a photographer must make adjustments in the exposure to render the scene as witnessed.
I realize we’re probably done with snow for the year, but after talking to people about their recent photographs of snow, I thought I’d offer some tips that can apply to photos taken year-round.
A common complaint I hear about snow images is that they turn out looking gray and flat in contrast. They don’t look white like the scene appeared.
The problem is that camera meters are set to capture a balanced exposure of every scene, no matter its content.
Here is a good explanation from the Cambridge in Colour website (cambridgeincolour.com):
“In-camera metering is standardized based on the luminance of light which would be reflected from an object appearing as middle gray. If the camera is aimed at any object lighter or darker than middle gray, the camera’s light meter will incorrectly calculate under or over-exposure, respectively.”
In other words, when you frame an expanse of snow, the camera’s meter registers the scene as containing a whole lot of light.
In order to render all that whiteness to a middle-gray tone, the camera underexposes the scene. Instead of a nice, white landscape, you end up with a dull-looking expanse of middle gray.
The camera meter doesn’t care if it’s aimed at bright, white snow or a black cat in a coal mine — its design is to render both as a shade of gray. While a camera’s metering system works well for the majority of subjects, this situation requires you to take some control.
To get an exposure that results in snow looking whiter, as you observed the scene, you need to compensate and slightly overexpose. To do this you have several options:
• Manually override your camera’s recommended exposure by 1-stop or more. If your camera’s meter reads F/11.0 at 1/500th, try F/11.0 at 1/250th for a 1-stop overexposure.
• In automatic exposure mode, set your exposure compensation dial to (+1) or more. This will automatically overexpose every shot by 1-stop, until you change the compensation setting.
• Look for a scene mode icon on your camera that shows a snowman, snowflake, palm tree or beach, etc. By selecting this mode the camera will compensate and increase exposure.
• Don’t worry about the in-camera exposure issues. Use photo imaging software to bring back some of the brightness and highlights in your prints. There are many imaging software options out there, and most enable simple lighting adjustments. Even simple do-it-yourself printing kiosks at places like Walgreens have some basic lighting tools to tweak your prints.
In case you didn’t catch it, did you notice that I listed “palm tree” and “beach” as scene mode settings along with snow? The truth is that both modes do the same thing. Try these tips out this summer. Like snow, bright beaches and large expanses of reflective water can result in underexposed, dull images. So set down that piña colada, take control of your camera and frame that perfect beach scene.
Arts and Entertainment

Photos: Lawrence begins World Cup festivities with downtown block party

Watkins Museum to open special exhibit detailing how Douglas County celebrated America’s Bicentennial

Go, See, Do: Kaw River Roots Festival, markets and more

Soccer gear honoring Lawrence history’s all-star team is now on sale as part of city’s public art exhibition
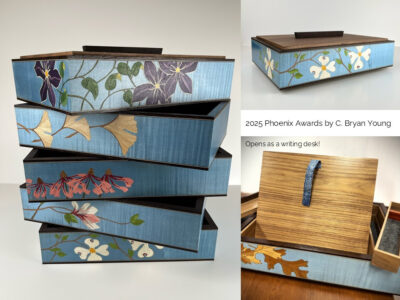
Nominations, call for artists open for Lawrence’s 2026 Phoenix Awards