Behind the Lens: Composing your own group portrait

For this group shot of Pinckney classmates, I asked one to place his arm on the shoulder of another to relax the pose. I also had the boy at center hold his tie and placed the boy at left near the desk where he could position a hand.
I have a small collection of old photo postcards, the one-of-a-kind cards that people printed themselves in home darkrooms. Popular subjects of many of those cards were family portraits. Many photographers make careers out of portraiture photography. American photographer Irving Penn (1917-2009) was among the first photographers to make use of simple backdrops during his fashion and portraiture career. A simple backdrop separated subjects from their surroundings, placing more emphasis on faces, posture and dress. Contemporary photographer Nicholas Nixon has turned one subject into a decades-long portrait project. Once each year, from 1975 through at least 2008, Nixon has taken a photograph of his wife and her three sisters. From the start he settled on two constants: the lineup would remain the same from left to right, and the subjects would look directly at the camera. The settings and lighting conditions have varied.
Whether a photographer chooses a specific setting or a unique subject, elements of good portraiture are the same. Here are a few tips for group portraits.
• Avoid straight rows or break up the spacing of subjects. Overlapping shoulders will bring people’s heads closer together and eliminate empty space between subjects. Keep taller individuals toward the center. In larger groups have pairs of people turn toward each other in a “v” stance. Seating or kneeling people in front of others can break a straight line and add depth.
• If you can’t control your background, at least pay attention to how it affects your subject. Avoid distracting elements or frame your composition to block distractions. I sometimes photograph groups from a higher angle to remove background elements.
• If you’re photographing people who know each other, have some place an arm or elbow on the shoulder of someone next to them. This can create a more natural pose. Include hands when possible and use props if available.
• Avoid posing people where bright light is in their eyes. Look for evenly lit locations like shade.
• To help catch everyone with their eyes open I often provide a count to “3” to provide a cue for the shot.
Arts and Entertainment

Photos: Lawrence begins World Cup festivities with downtown block party

Watkins Museum to open special exhibit detailing how Douglas County celebrated America’s Bicentennial
Go, See, Do: Kaw River Roots Festival, markets and more

Soccer gear honoring Lawrence history’s all-star team is now on sale as part of city’s public art exhibition
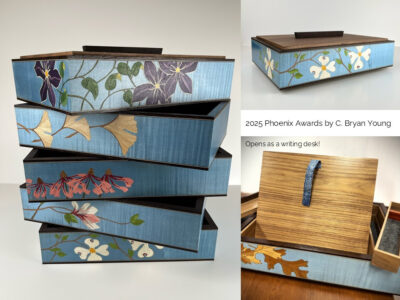
Nominations, call for artists open for Lawrence’s 2026 Phoenix Awards