Behind the Lens: Light box work good for online auctions

This do-it-yourself light box includes coffee filters for light diffusion, a cardboard box, tape and a white piece of paper and the illumination from three household lamps. Use a setup like this to create professional-looking photographs of products.
Submit an idea
“Behind the Lens” is a weekly look at photography, written by Journal-World staff photographers. Have an idea for the column? Contact Thad Allender, photo director, at 832-6359 or tallender@ljworld.com.
As stale as it can be at times, product photography is one of the most challenging when it comes to photographic lighting.
The lighting tools can be expensive, the setup can be cumbersome, and calibrating the lighting can take forever. I am a big fan of cheap, do-it-yourself lighting setups, so today we’re going to learn how to build a light box using a cardboard box, paper, tape and household lamps.
This works great for eBay items, jewelry, pottery and any other type of still-life that will fit in the box.
What you need:
¢ Cardboard box
¢ Translucent white paper or plastic or vellum
¢ 11-by-17 white office paper
¢ Clear tape
¢ Box cutters
¢ Three 60-watt lamps
To build the light box:
1. Open the box.
2. Cut away windows from three side of the box.
3. Cut your translucent white diffusion to fit the three windows.
4. Tape the diffusion onto the three sides.
5. Bend and tape the white paper to the bottom of the box, creating a seamless curve down onto the side of the box that was not cut.
6. Set up the three lights, one on each side of the translucent white diffusion panels on the light box.
7. Set your camera’s white balance on the incandescent setting (the light bulb).
8. If shooting small products (let’s say less than 6 inches tall), then set your camera on macro focus.
9. Start shooting.
Total construction time: 15 minutes
This won’t win you the Pulitzer Prize, but it might help you liquidate a few items on eBay quicker.
Arts and Entertainment
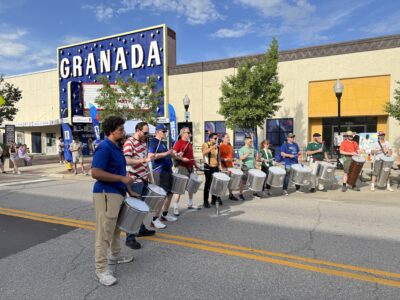
Photos: Lawrence begins World Cup festivities with downtown block party
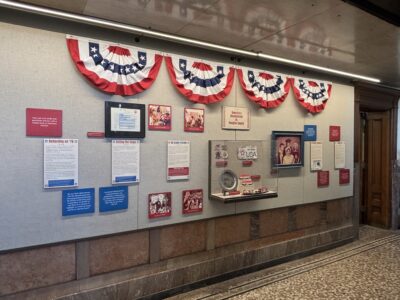
Watkins Museum to open special exhibit detailing how Douglas County celebrated America’s Bicentennial
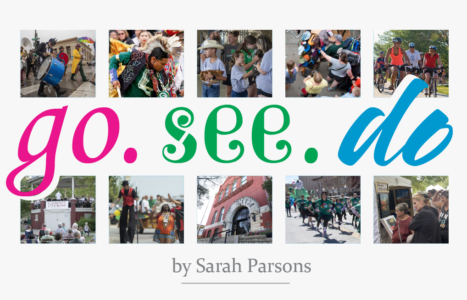
Go, See, Do: Kaw River Roots Festival, markets and more

Soccer gear honoring Lawrence history’s all-star team is now on sale as part of city’s public art exhibition
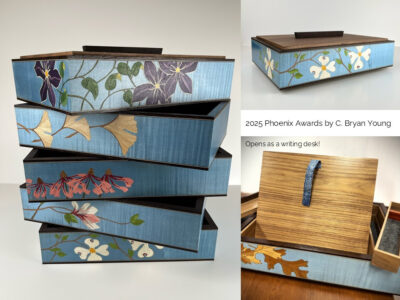
Nominations, call for artists open for Lawrence’s 2026 Phoenix Awards