Behind the Lens: Self-publish your photos
Online software makes it easy to create a lasting album

Using online self-publishing sites, Journal-World photographer Mike Yoder has created several books of photographs. Software tools make it easy to lay out, design and publish your book of photographs using your home computer and digital images. Pictured is a 7-by-7-inch soft-bound book on the Vinland Fair and an 11-by-13-inch, hard-bound book on a trip to South Dakota.
About this series
“Behind the Lens” is a weekly look at photography, written by Journal-World staff photographers. Have an idea for the column? Contact Thad Allender, photo director, at 832-6359 or tallender@ljworld.com.
I recently returned from a trip to South Dakota. I had a point-and-shoot digital camera and took dozens of photographs. Now I’m deciding what to do with the images.
My options:
1. Make 4-by-6-inch prints and place them in a traditional photo album. (I think photos in albums are a lot like rock stars – they never die, they just fade away.)
2. Pick the best images. Frame them. Mat them. Find a gallery to exhibit them. (Very expensive. Also, who really wants to see a gallery photo of me jumping over what I swear was a rattlesnake, not a stick?)
3. Self-publish a full-color, 80-page, 13-by-11-inch hardbound book with photos and text. Multiple copies available. (Now we’re talking!)
You probably have a collection of images you’d love to see in a book. Now, many Internet companies are making it a reality. Lulu, Picaboo and Apple’s iPhoto are just a few. I tried my hand at self-publishing using the company Blurb.com.
Blurb allows you to download their free computer application, BookSmart. Within BookSmart is a comprehensive set of tools and templates to lay out, design and edit your book. You can choose four book sizes from 7-by-7 inch to 13-by-11. Lengths can run from 20 to 440 pages, and prices start at just $12.95 for a 40-page, softcover. All books and prices are for four-color printing. Shipping costs are additional.
First, you need to get your photographs onto your computer. If you have slides, negatives or photo prints, you’ll need to get these scanned and transferred into digital files. Next, you copy photos into the BookSmart library. After choosing a title, book size and a starter layout, you are ready to import photos and text. Moving photographs to a layout is a simple click and drag from the library to the page. For text you click on text boxes to activate them and begin typing.
At each step you have many options. A photo can fill up an entire page. Or you can have a page with 30 images. Did I mention that you can choose a different color for each page? For text, you have over 160 font type selections.
Once completed, you download and order your book through the BookSmart application while connected to the Internet, preferably with a high-speed connection. You’ll also be able to post your book to the Blurb Web site bookstore where family, friends and anyone else can find, review and order at the price you set.
Some helpful bookmaking tips:
1. Print out a plain paper, black and white proof of your completed book to check for errors before ordering.
2. Limit your choices. Multiple fonts and numerous picture page options can seem pretty nifty, but I find it’s easier and it looks better if you limit yourself.
3. Always order a sample copy of a book to review before ordering multiple copies. The sample copy will help you determine if you need to make any adjustments to your text or photos.
Go online for a video demonstration on the basics of using Blurb.com’s BookSmart self-publishing application to create your own book.
Arts and Entertainment
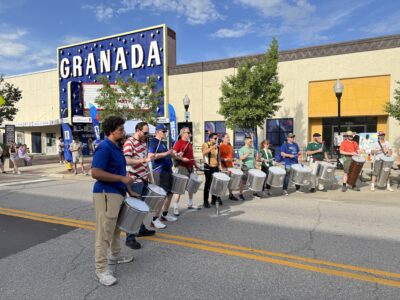
Photos: Lawrence begins World Cup festivities with downtown block party
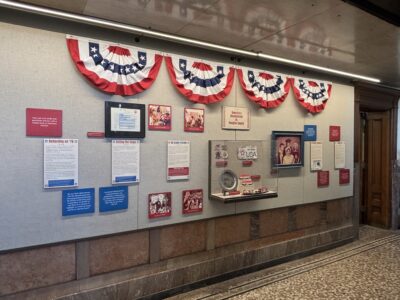
Watkins Museum to open special exhibit detailing how Douglas County celebrated America’s Bicentennial
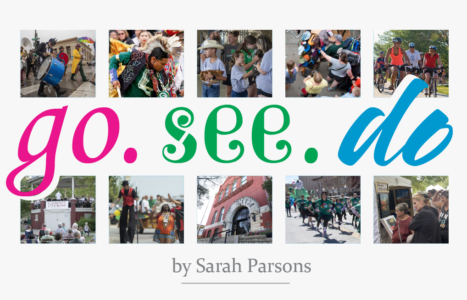
Go, See, Do: Kaw River Roots Festival, markets and more

Soccer gear honoring Lawrence history’s all-star team is now on sale as part of city’s public art exhibition
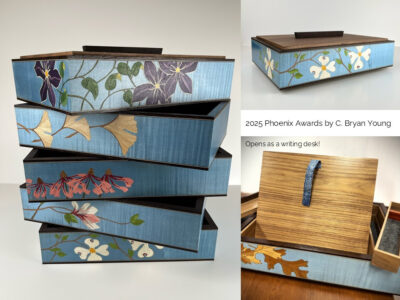
Nominations, call for artists open for Lawrence’s 2026 Phoenix Awards