Behind the Lens: Effective lighting kits don’t have to be expensive
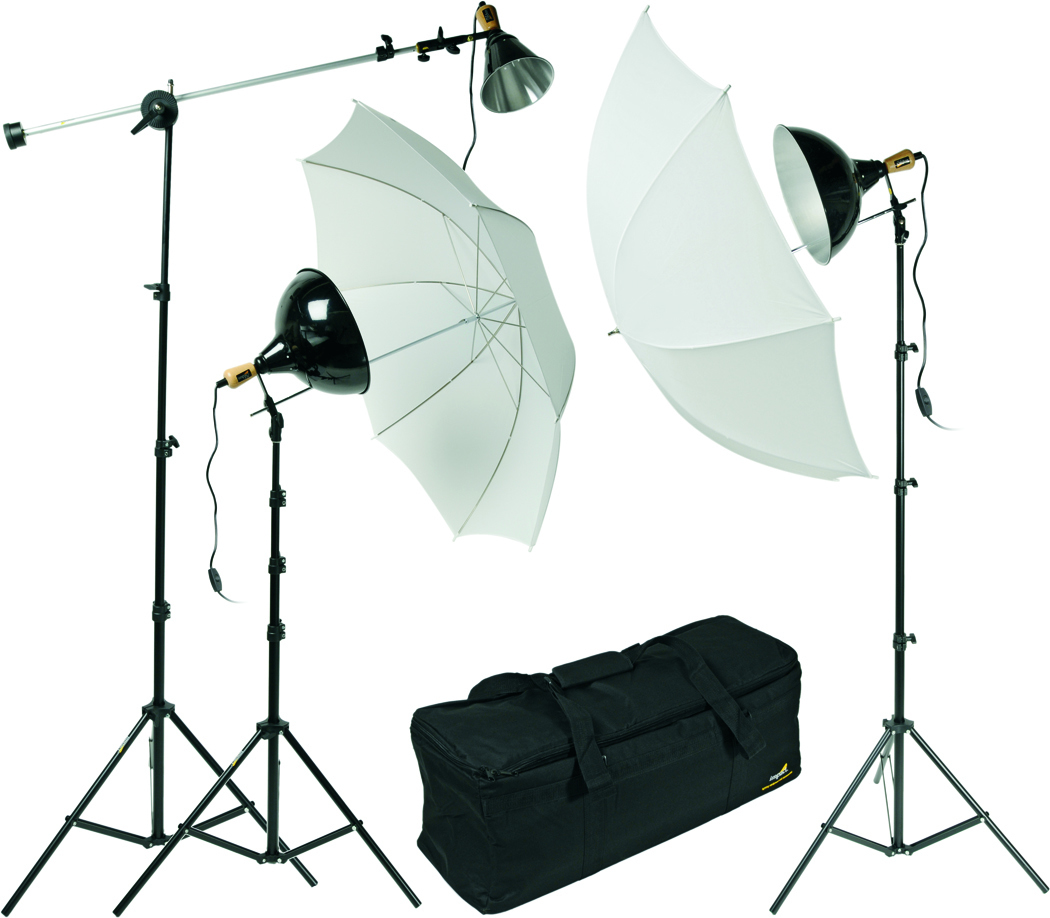
For a fully-equipped home studio, this three-light set-up would handle many subjects with a variety of lighting possibilities. But even a one kit, with floodlight, umbrella and stand, would go along ways in establishing an inexpensive home studio.
In last week’s column I mentioned using household table lights as a possible source of illumination to re-photograph prints or other hard-copy documents. It is a make-do solution only and not one I recommend if you plan on doing a lot of tabletop photography or have a growing interest in photographing other subjects requiring artificial lighting.
A better solution is to invest in a light kit. The simplest and cheapest, which will suffice for many situations, consists of a floodlight with a reflector, an umbrella and a light stand. It’s an excellent way to begin experimenting with studio and location lighting. I recommend this approach instead of using a flash for the simple reason that a floodlight kit provides continuous light. This means you can see exactly how your light falls on a subject as you take the photograph.
Flash and strobe light strikes subjects in a fraction of a second, providing you with no visual evidence of how the light is landing on your subject. Only when you review your image on your monitor or in a print will you know if you were successful. With a floodlight’s continuous illumination you can easily control and visualize your light. In my daily work I use flash equipment, but that’s mainly because it’s more portable and after years of working with them I have a good idea of how the light will fall on a subject. But even my least-expensive flash is a plus-$200 model and requires batteries. A basic one-floodlight kit is cheaper and can be powered at any AC outlet.
B&H Photo sells one such kit by the company Impact. It consists of a ceramic socket with wooden handle, a 12-inch aluminum reflector, 42-inch umbrella and bracket, a light stand with maximum extension to six feet, and a 500 watt 3,200-degrees Kelvin bulb all for $74.95.
While this outfit would be good for many situations, I suggest getting two. While you can cover many subjects with a nice soft light from one floodlight bounced through an umbrella, you will always be stuck with light falling from one direction only. Less light will fall on the side of the subject farthest away from your light source.
In my daily work when using a one-light source with a diffuser, like an umbrella, I place my umbrella approximately 45 to 60 degrees offset from the subject and a bit higher than eye level. A two-light kit, while more expensive, would provide more options, including the ability to have equal lighting on both sides of a subject. This would be an excellent setup for artists wanting to photograph their paintings or sculptures.
These kits would be ideal for video usage also, especially one-subject interview sessions. Because you can use a variety of bulbs in these kits, you will want to make sure to adjust your camera’s white balance to match the color temperature of the bulb. In the case of the bulb included in the kit above, you would want to set your camera’s white balance for 3200 Kelvin, or the tungsten setting on your camera.
Arts and Entertainment
Upcoming events include Final Friday Art Walk, birding, books, block party and more
FRIDAY Final Friday Art Walk includes: Corinna Delgado and other artists, “Mental Health Month,” 6-9 p.m., ...
Upcoming events include ballet, riverbank cleanup, Earth Day fair, birding, music and more
FRIDAY • “Jennie Brooks: A Nature Lover in Lawrence,” 7-8 p.m., Watkins Museum of History, 1047 ...

The roguish ghost of John Barrymore takes the stage in Theatre Lawrence’s ‘I Hate Hamlet’

Lawrence musicians to be inducted into Kansas Music Hall of Fame on Saturday
Farmers’ Market opening day, quilt show, book sale, powwow and more events
FRIDAY Spring Book Sale, 10 a.m.-6 p.m., Lawrence Public Library, 707 Vermont St. Enter on Kentucky Street side. ...
Upcoming events include art shows, music, dance, outdoor activities and more
FRIDAY • BLACK Lawrence Open Mic, 7-9 p.m., 10th & Mass Studios, 1000 Massachusetts St., Studio A. Free ...