Behind the Lens: Manipulate ISO for higher-quality photo
To follow up on last week’s column, the measure of a camera’s sensor sensitivity to light is designated by an ISO number. All digital cameras have sensors and ISO settings. The larger the number, the greater the sensor’s sensitivity to light.
If you take most of your photographs in daylight, ISOs of 100-200 is ideal and will give the highest quality images. Once you move indoors you may need 400-800 ISOs to maintain correct exposures. But image degradation begins at these higher ISOs. Since I prefer higher image quality, I attempt to keep ISOs low, even indoors. This means that I might be shooting at slower shutter speeds and larger apertures, but it’s a tradeoff I’m willing to make.
Most cameras allow you to select an automatic or manual ISO setting in your camera menu. In auto ISO, your camera will choose lower ISOs in good light and increase it in darker situations. Just be aware that high ISO images will not have the same quality and clarity of lower ISOs.
How you choose to control your ISO may depend more on how you use or output your photographs. If you only upload photos to Facebook or similar online sites, the lack of quality in higher ISO images won’t be that noticeable. You probably wouldn’t notice much quality loss in 4-by-6-inch album prints either. But if you want 8-by-10 inch or larger prints made from high ISO images, be prepared for some noticeable loss of quality.
Subject matter, too, can make a difference in how you perceive image quality and the use of high ISOs. If you’re photographing musicians in night clubs, higher ISOs will probably be necessary, but the resulting grainy or noisy images, may be appropriate to the subject.
In my daily photography work, I constantly make adjustments to ISO, shutter speed and aperture, determined by my subject matter and the lighting conditions.
At sporting events, where subject movement is fast, shutter speed is a priority, and I’ll accept some loss of image quality for a higher ISO just to gain a faster shutter speed.
For a portrait in good light, I would choose a low ISO over a high shutter speed for better image quality.
An awareness of all three of these camera controls can provide you with exposure options for any given situation. Understanding how each relates to your subject and your intended use for the photograph can help you choose the appropriate exposure setting.
Arts and Entertainment

Photos: Lawrence begins World Cup festivities with downtown block party

Watkins Museum to open special exhibit detailing how Douglas County celebrated America’s Bicentennial
Go, See, Do: Kaw River Roots Festival, markets and more

Soccer gear honoring Lawrence history’s all-star team is now on sale as part of city’s public art exhibition
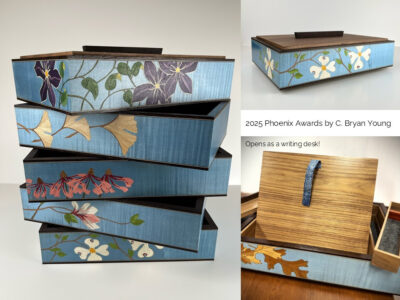
Nominations, call for artists open for Lawrence’s 2026 Phoenix Awards