Tiling is delicate but a doable job
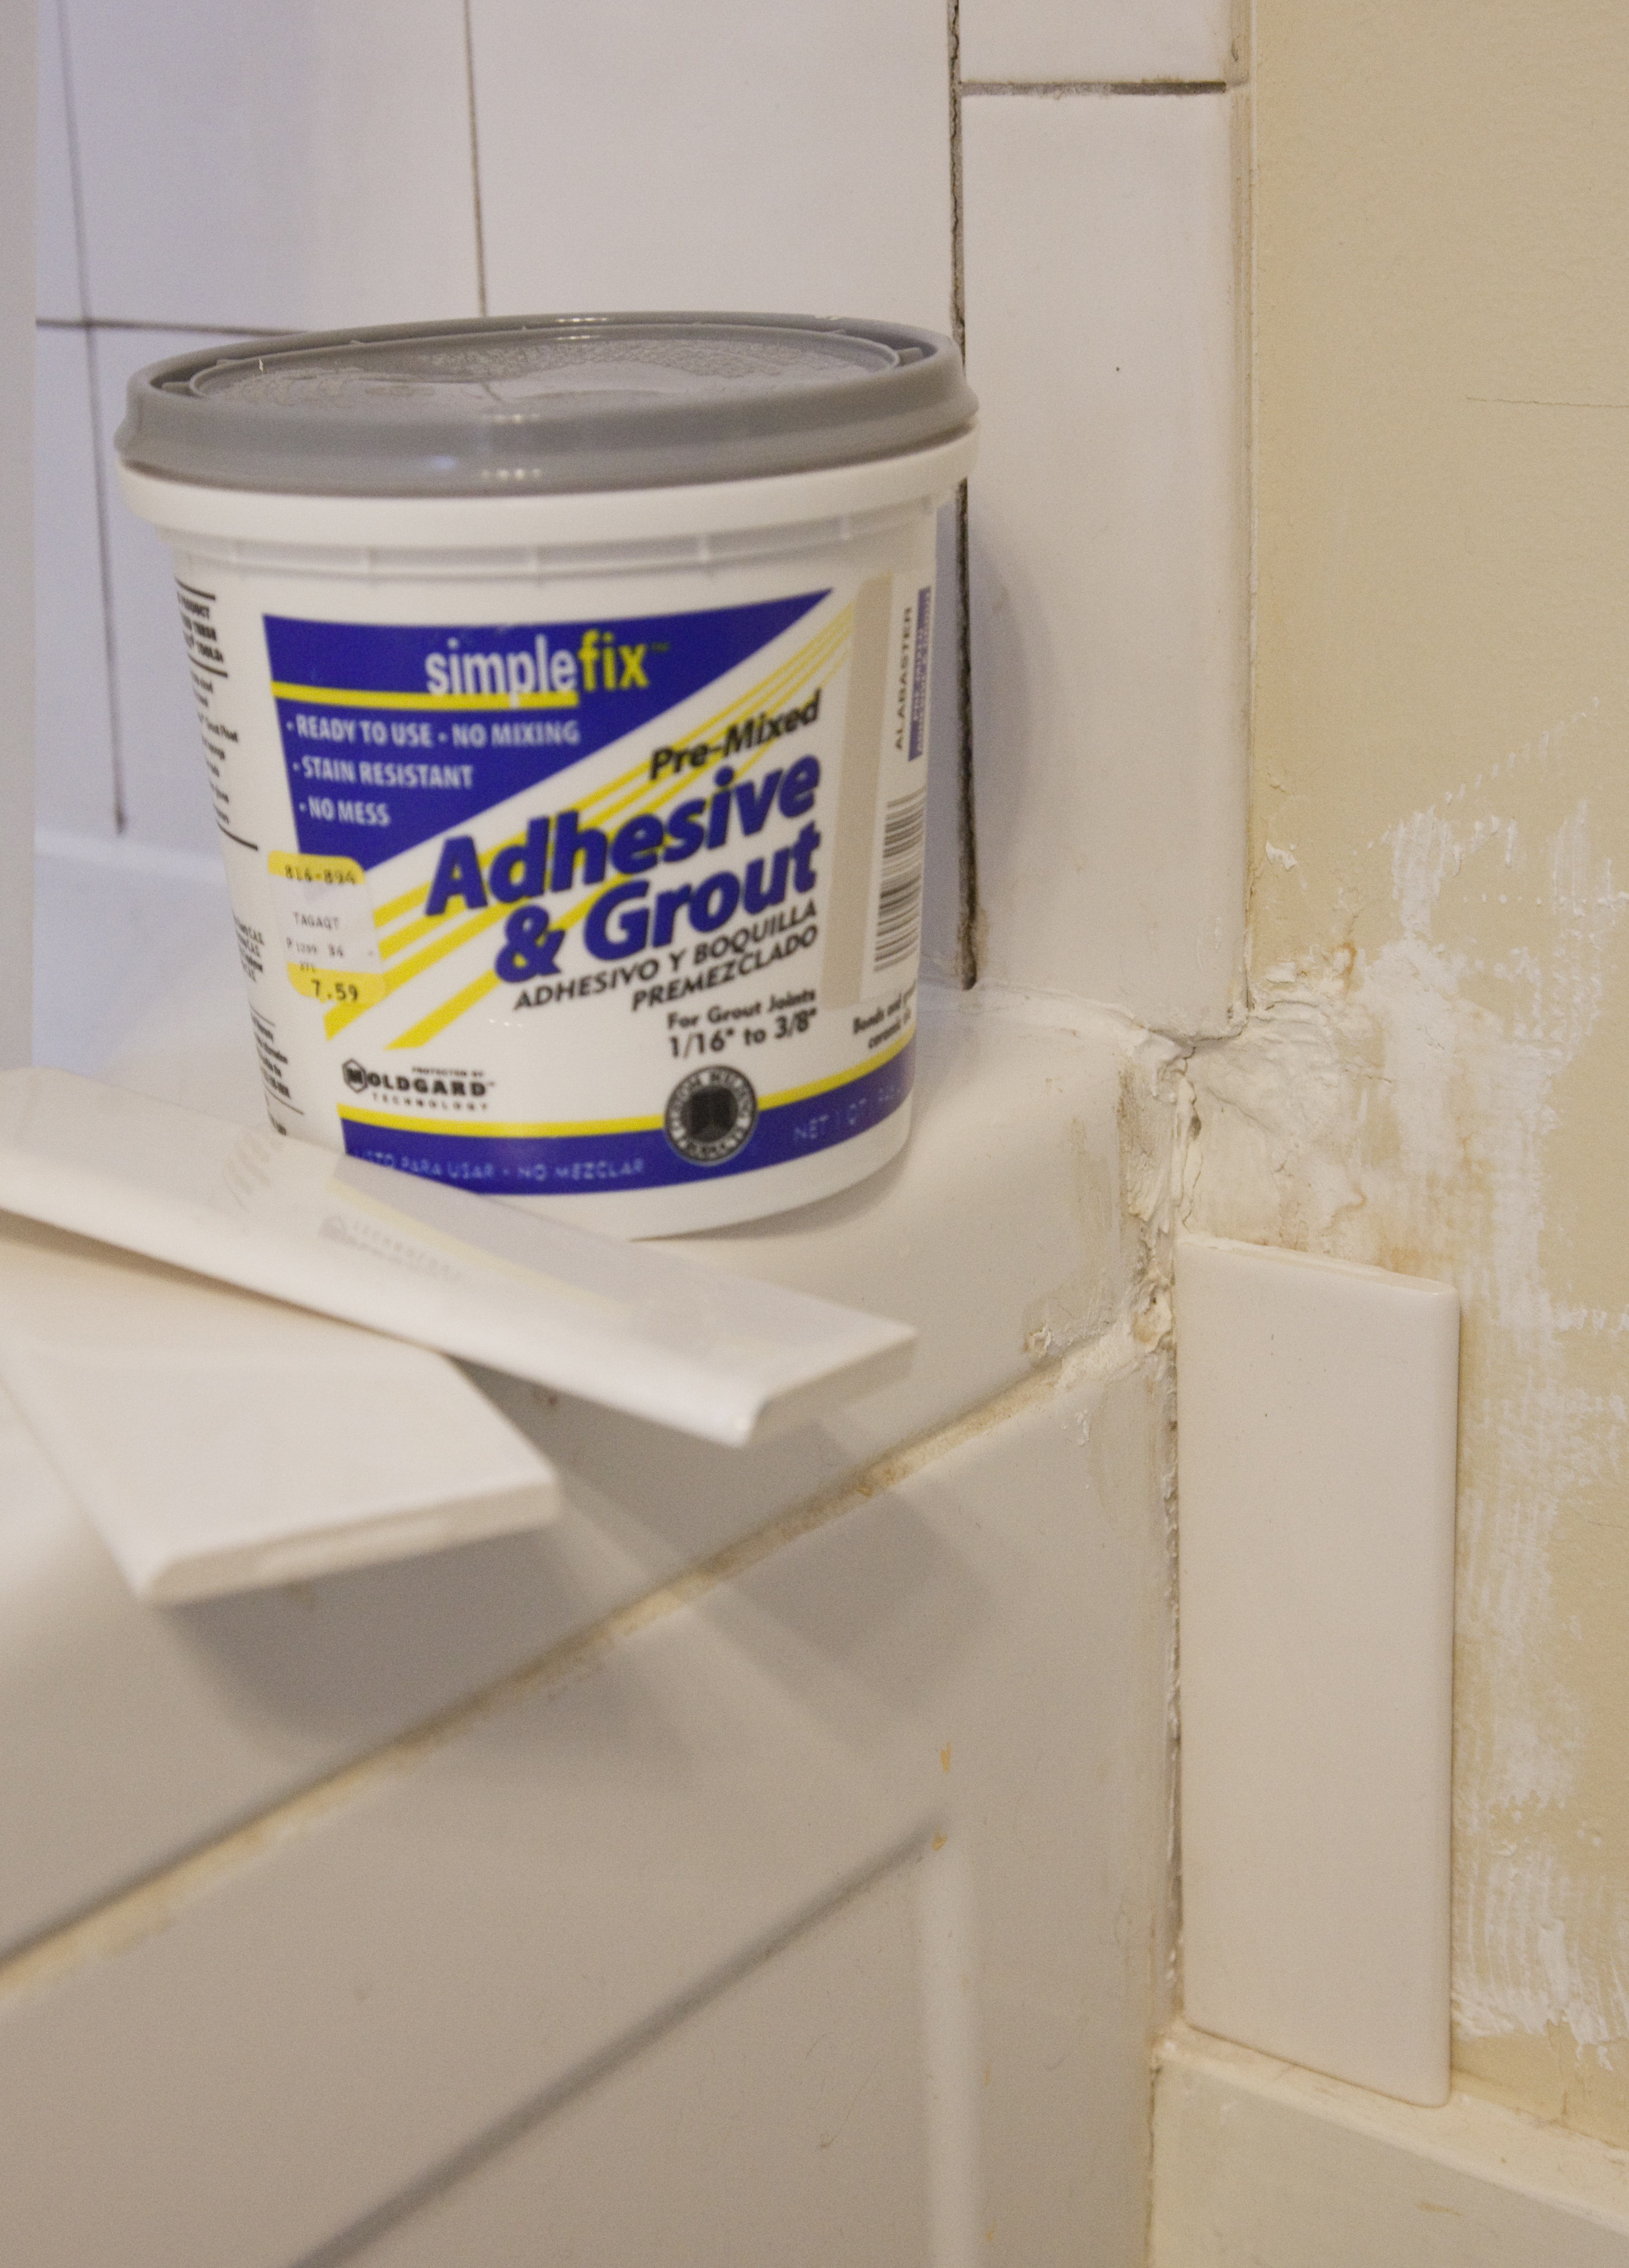
Ceramic pieces and an adhesive or grout is needed to replace or repair areas with tile. A tile cutter can also be handy for trimming tile to fit a variety of gaps.
Installing ceramic tile is a relatively simple job, as long as you are not geometrically challenged.
Step 1: Determine the best type of tile for the project. Smaller tiles work best on vertical surfaces. Measure the height and width of the project area to calculate the amount of tile needed. Allow extra tile to compensate for breakage during the installation process.
Step 2: Grout comes in sanded and unsanded varieties. Sanded grout is stronger and more durable then unsanded grout but is not recommended for joints smaller than one-eighth inch. Tile spacers can help assure uniformity when laying tile. These handy little plastic crosses temporarily hold the space between tiles. They come in sizes from 1/16 inch up to half-inch increments. An eighth-inch grout line is most commonly used for tiles smaller than 12 inches.
Step 3: Start at the center of the project area and strike guide lines using a level and chalk line. Draw the design on graph paper or arrange tile on the floor to determine the best possible pattern. Account for grout lines in your calculations. A proper pattern will reduce cuts and minimize waste. Typically tile is laid from the center of the project area out to the edges, but sometimes it is better to start from a corner or from the top or bottom with a full tile.
Step 4: Select the best adhesive for your specific tile project. Thin-set mortar is typically used on floors, but depending on the backer board and tile type, latex adhesive or glue may be a better choice for nonflooring applications.
Step 5: Follow the manufacturer’s recommendations for applying the adhesive. Trowel on the appropriate amount and press tiles into place. Use tile spacers to assure grout line consistency and follow the guide lines diligently. Use a level to check alignment often.
Step 6: Let the tiles set for 24-48 hours, then remove the tile spacers. Use a rubber float to press grout into the tile joints. About two hours later, when the grout begins to haze, use a lightly dampened grouting sponge to clean the tiles. Excessive water will compromise grout strength. Wait another hour and clean the tiles a second time.
Once the grout has set for three days, apply a grout sealer to protect the integrity of your new work of art.