Spring opens a window of opportunity for screens
Window screen is available in both aluminum and fiberglass material. To insure the new screen will fit properly into your old frame; use the same type of material that you are replacing.
With spring in full swing, now is the time to replace those torn or worn screens around your home.
Step 1: Remove the screen frame from the window or door. Screens are typically held in place by clips or latches. These may need to be unscrewed before the frame will come out.
Step 2: Lay the frame on a flat, hard surface, such as a floor or table.
Step 3: Measure the frame and add 2 inches to both the length and width. This will determine the size of the new piece of screen.
Step 4: Remove the rubber spline or wood trim holding the screen to the frame. If the screen frame is metal, use a flat head screw driver to free a corner of the spline and gently pull the spline out from its channel. If the screen frame is wood, use a small pry bar or chisel to carefully pry the wood molding off from the frame. Leave the trim nails in place within the molding strips and try not to bend them, you will want to re-use them if possible.
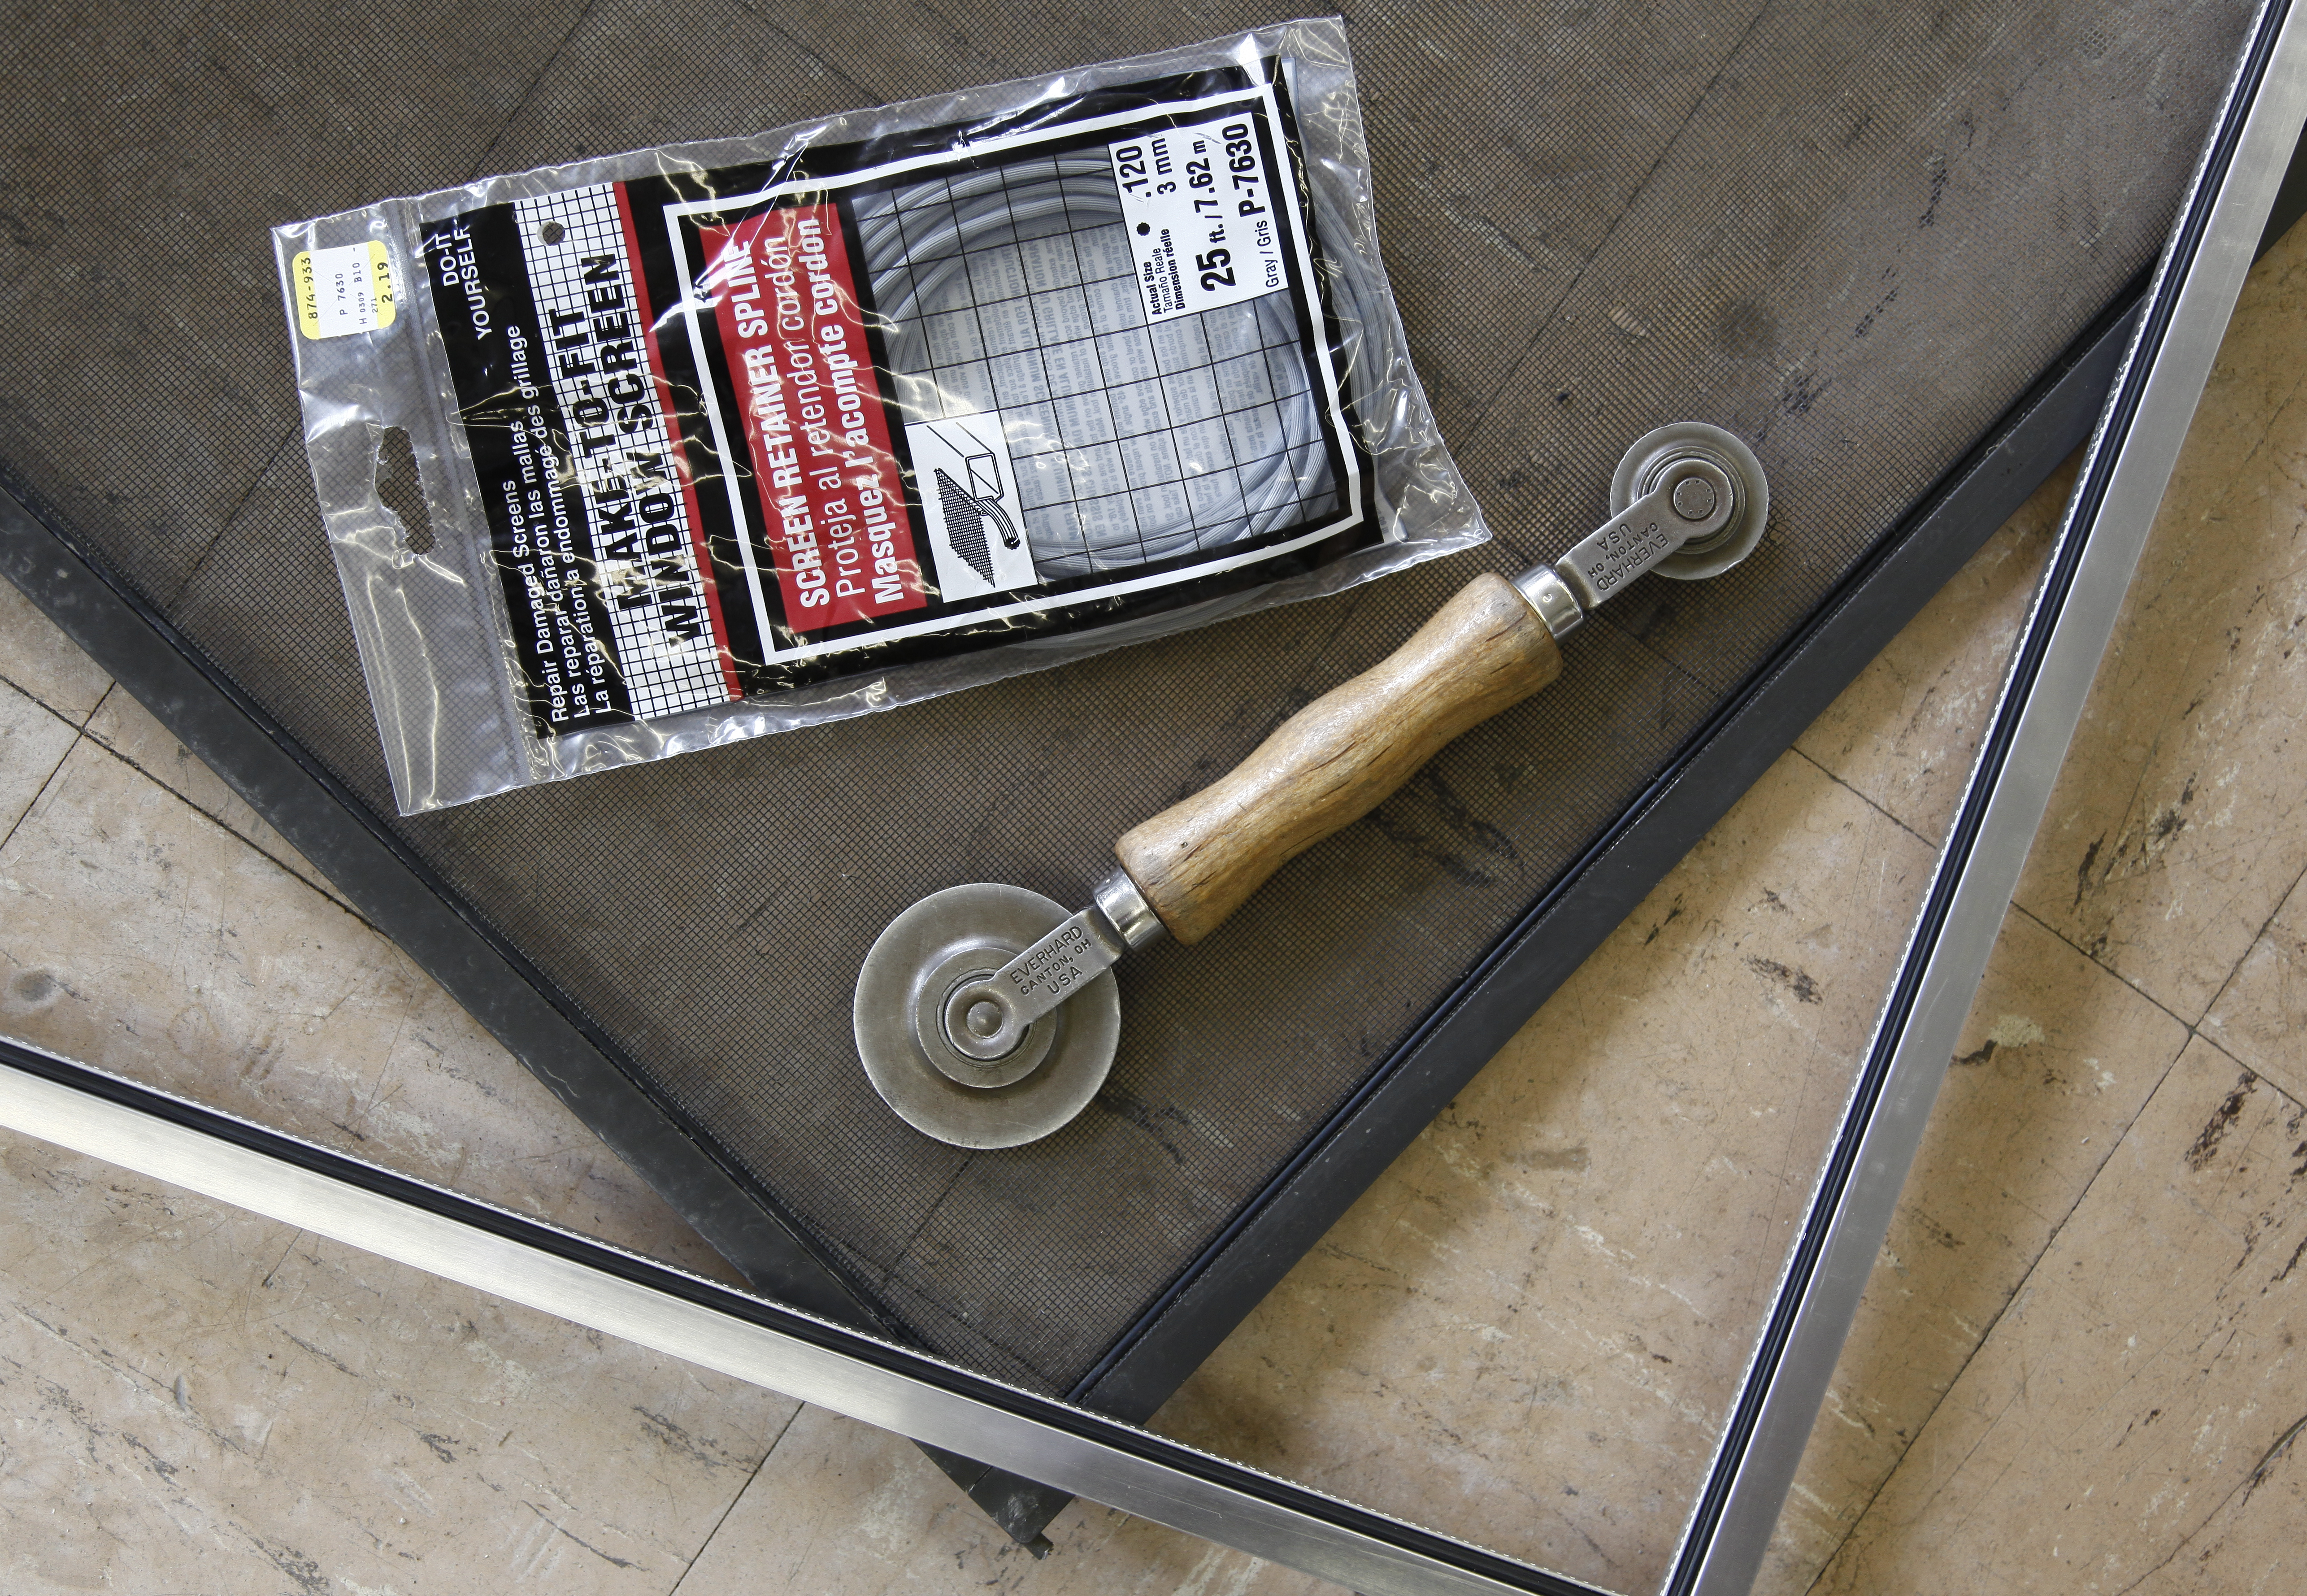
Step 5: Spline comes in a variety of sizes. As long as the rubber spline is still flexible and in relatively good shape, reuse it. Otherwise, take a sample of the spline to your local hardware store and get a new package of the same size. For wooden frames, you should be able to reuse the molding strips, even if they are slightly broken.
Step 6: Lay the new piece of screen over the screen frame. The screen should overlap the frame about an inch on all four sides. If the frame is metal, use the small wheel of a spline rolling tool to gently press the screen into the spline channel all the way around the frame. While doing this, use your free hand to press down on the center of the screen, holding the screen in place and assuring it is not pulled too tight.
Step 7: Secure the screen to the frame. For metal frames, use the large wheel of a spline rolling tool to carefully press the spline into the channel around the edges of the frame. Move slowly to avoid tearing the screen. Use a flat edge screw driver to press the spline neatly into the corners of the channel. For wooden frames, use a staple gun or small tacks to secure the screen to the frame.
Step 8: Use a carton knife to trim the excess screen from the edges of the frame. If you have a wooden frame, after you have trimmed the excess screen away, carefully press the molding strips back into place, aligning the nails with their respective holes along the edges.
Step 9: Reinstall your screen frame into its respective window or door, using the clips or latches to secure it properly.
Take a breath of fresh air and enjoy the view through you new and improved portal to the world outside.