Starting From Scratch
Growing tomato and pepper plants from seeds requires a little equipment, correct timing and daily attention.
Start too early and your seedlings get leggy and root-bound before it’s safe to plant them outside. Start too late and there’s really no advantage in doing it. You’re not ahead of the game at all. Neglect the seedlings by forgetting to water and feed them, and their growth is stunted.
While many gardeners take the easier path to garden-ready plants by buying them in April, others believe that growing them from seeds, starting now, is more fulfilling. It also allows the widest range of varieties. For example, the 2005 Burpee catalog lists three dozen varieties of hot and sweet peppers, everything from Biker Billy Hybrid to Blushing Beauty Hybrid and just as many tomato varieties, including heirloom, beefsteak, cherry and paste tomatoes. Growing from seed produces a lot of plants for little cash. A package of seeds costs a few dollars, depending on the variety. Most important, it makes you feel like a real, down-to-earth gardener.
Here’s what you’ll need and how to do it.
Equipment:
SEEDS. Take your pick from the seed racks in garden centers or catalogs. Get an old reliable such as Brandywine tomato and something entirely new to you: a super-hot pepper like Habanero, for example.
GROWING MIXTURE. Don’t shovel something out of your garden. You’ll need to buy packaged seed-starter mix. It is free of fungus that can stop germination or kill seedlings.
IDENTITY TAGS. Plastic labels and a waterproof pen or pencil, so you can keep the names straight.
SPROUTING CONTAINERS. They can be plastic or clay pots, but they must be clean. I use small, frozen-food containers with one or two holes punched in the bottom for drainage. Think of these containers as a nursery, where the seeds will germinate and the seedlings spend their infancy.
GROWING CONTAINERS. Larger pots made of peat or plastic, about 16 1/2 inches in diameter with more seed starting mixture. After the seedlings sprout, you transplant them to these containers. This is where the seedlings will spend their youth.
Sowing, Step by Step:
- Fill the pot or box with seed-starting mix to about 6 1/2 inch below the rim. Dampen it.
- Sprinkle seeds on top of the mixture. Cover tomato seeds with about 1/8 inch of growing mix. Don’t cover pepper seeds, as they require light for germination. Make a label.
- Spray the seedbed with water. Light spraying is best because it doesn’t move the seeds or push them deeper into the growing mix.
- Cover the box or pot with clear plastic. If it clouds up, take off the plastic temporarily to let out excess humidity.
- Check the box or pot every day to make sure it does not dry out. Keep it damp but not soggy. Seeds that dry out are less likely to germinate.
Growing the Seedlings:
Keep your little nursery in a warm spot during germination, which varies from a few days to a couple of weeks.
As seedlings develop two or three pairs of leaves, gently take them out and replant in individual pots with a commercial growing mix. I use the sharp end of a pencil to pick them out and transplant. Don’t use your fingertips, which may not be clean enough.
Mist the seedlings regularly so they do not dry out. Use a water-soluble fertilizer diluted to half strength weekly.
Keep them in a sunny spot on the window sill. On mild days, set them outside, but not in direct, hot sun. Even in March, the sun can get very strong and bright, which may be too much for young plants.
When spring weather arrives for sure and the soil is warm, usually in mid- to late April, set the plants in their permanent spot in the garden.
Home and Garden
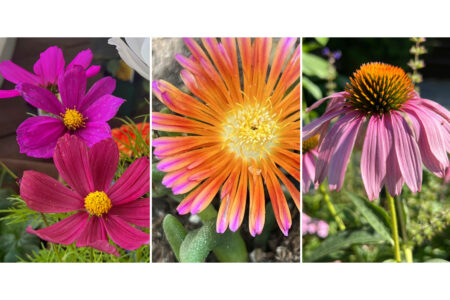
Flower gardens endure hot, dry summers better if you choose these plants
Debunking common garden hacks, quick fixes and myths

Douglas County Master Gardeners invites public to annual native plant sale
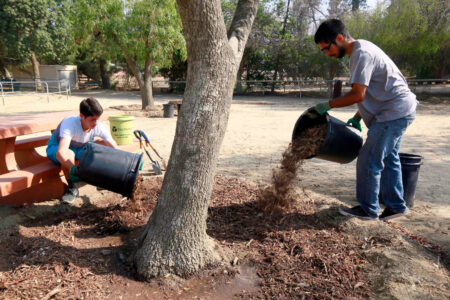
How to mulch your garden beds without harming plants