Indoor window shutters create rustic feel
My pal Shari Hiller and I were working on a family room in which the homeowner wanted a cabin-in-the-woods feel. Shari selected a log-cabin wallpaper that worked great, but the windows seemed too stark. That’s when we came up with the idea for a pair of exterior window shutters on each side of the window. It’s really simple construction:
Step 1: Cheat if you want
If you want, you can have a lumberyard or a home center cut your boards to size for you. Most of them will make cross cuts as well as rip cuts. You will need four boards cut for each window. Take your measurements with you from the window that you’re working on.
To find the length is easy: Just measure from the top of the casing to the top of the sill and subtract 1/4 inch so that the shutter won’t rub on the sill.
To calculate the width of each board, measure the width of the window from the outside edge of one side of the casing to the other. Then subtract 1/4 inch from the total measurement. This should be enough to compensate for the hinge joints between the shutters and a small space where they meet. Divide your answer by four to get the width of each board you will need.
Step 2: Smooth them out
Sand all the boards to remove any rough saw edges and little splinters of wood. Use a 150-grit sandpaper and sand the edges and face of the boards. The smoother the edges the more weathered the shutters will appear when finished.
Step 3: Add color to the room
Now add color to the boards. We chose to wipe the paint on using a lint-free rag. Wiping or washing the paint on will allow the natural wood grain to show and gives the shutters a rustic look. If you prefer, you can paint the shutters a solid color; just make sure to cover both sides and all of the edges.
Step 4: Everything hinges on this next step
Depending on the height of your boards, you need to attach two of them together with hinges mounted anywhere from 4 to 8 inches in from the top and bottom of the boards. Attach another pair of hinges at the same level on the other side of the board that will attach to the side edge of the window casing. Take a moment or two to figure out if you are attaching the hinges correctly. The middle part of the shutter should come out toward you when it is mounted on the window, then it should swing to the side and lay flat against the wall right next to the window casing.
Step 5. Get a handle on it
Once both sides of your shutters are mounted, close them over the window and determine the placement of the handles. Attach them about 8 to 10 inches high. I selected a black wrought iron for the hinges and the handles, but there are many types to choose from.
There are two tricky areas of this project. One is getting the width of the boards just right, so the shutters will close without too big of a gap between them. The other is getting the hinges attached to the boards correctly. Take some time to noodle this one out.
Matt Fox writes this column with Shari Hiller. They also co-host the Home & Garden Television show “Room by room.” For more information, visit www.hgtv.com.
Home and Garden

10 top performing new plants for this season

Flower gardens endure hot, dry summers better if you choose these plants
Debunking common garden hacks, quick fixes and myths

Douglas County Master Gardeners invites public to annual native plant sale
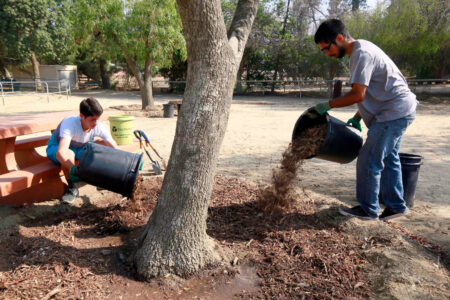
How to mulch your garden beds without harming plants