Fix-It Chick: How to wield a power drill
Electric or cordless power drills are arguably the most widely used power tool around. Seemingly a simple tool to use, there are a few tricks that can make your power drill experience a little more pleasant.
Step 1: Choose a drill that is balanced and fits well in your hand. If the drill is too heavy or awkward, chances are pretty good that the driving experience will lean toward the unpleasant side of the fence.
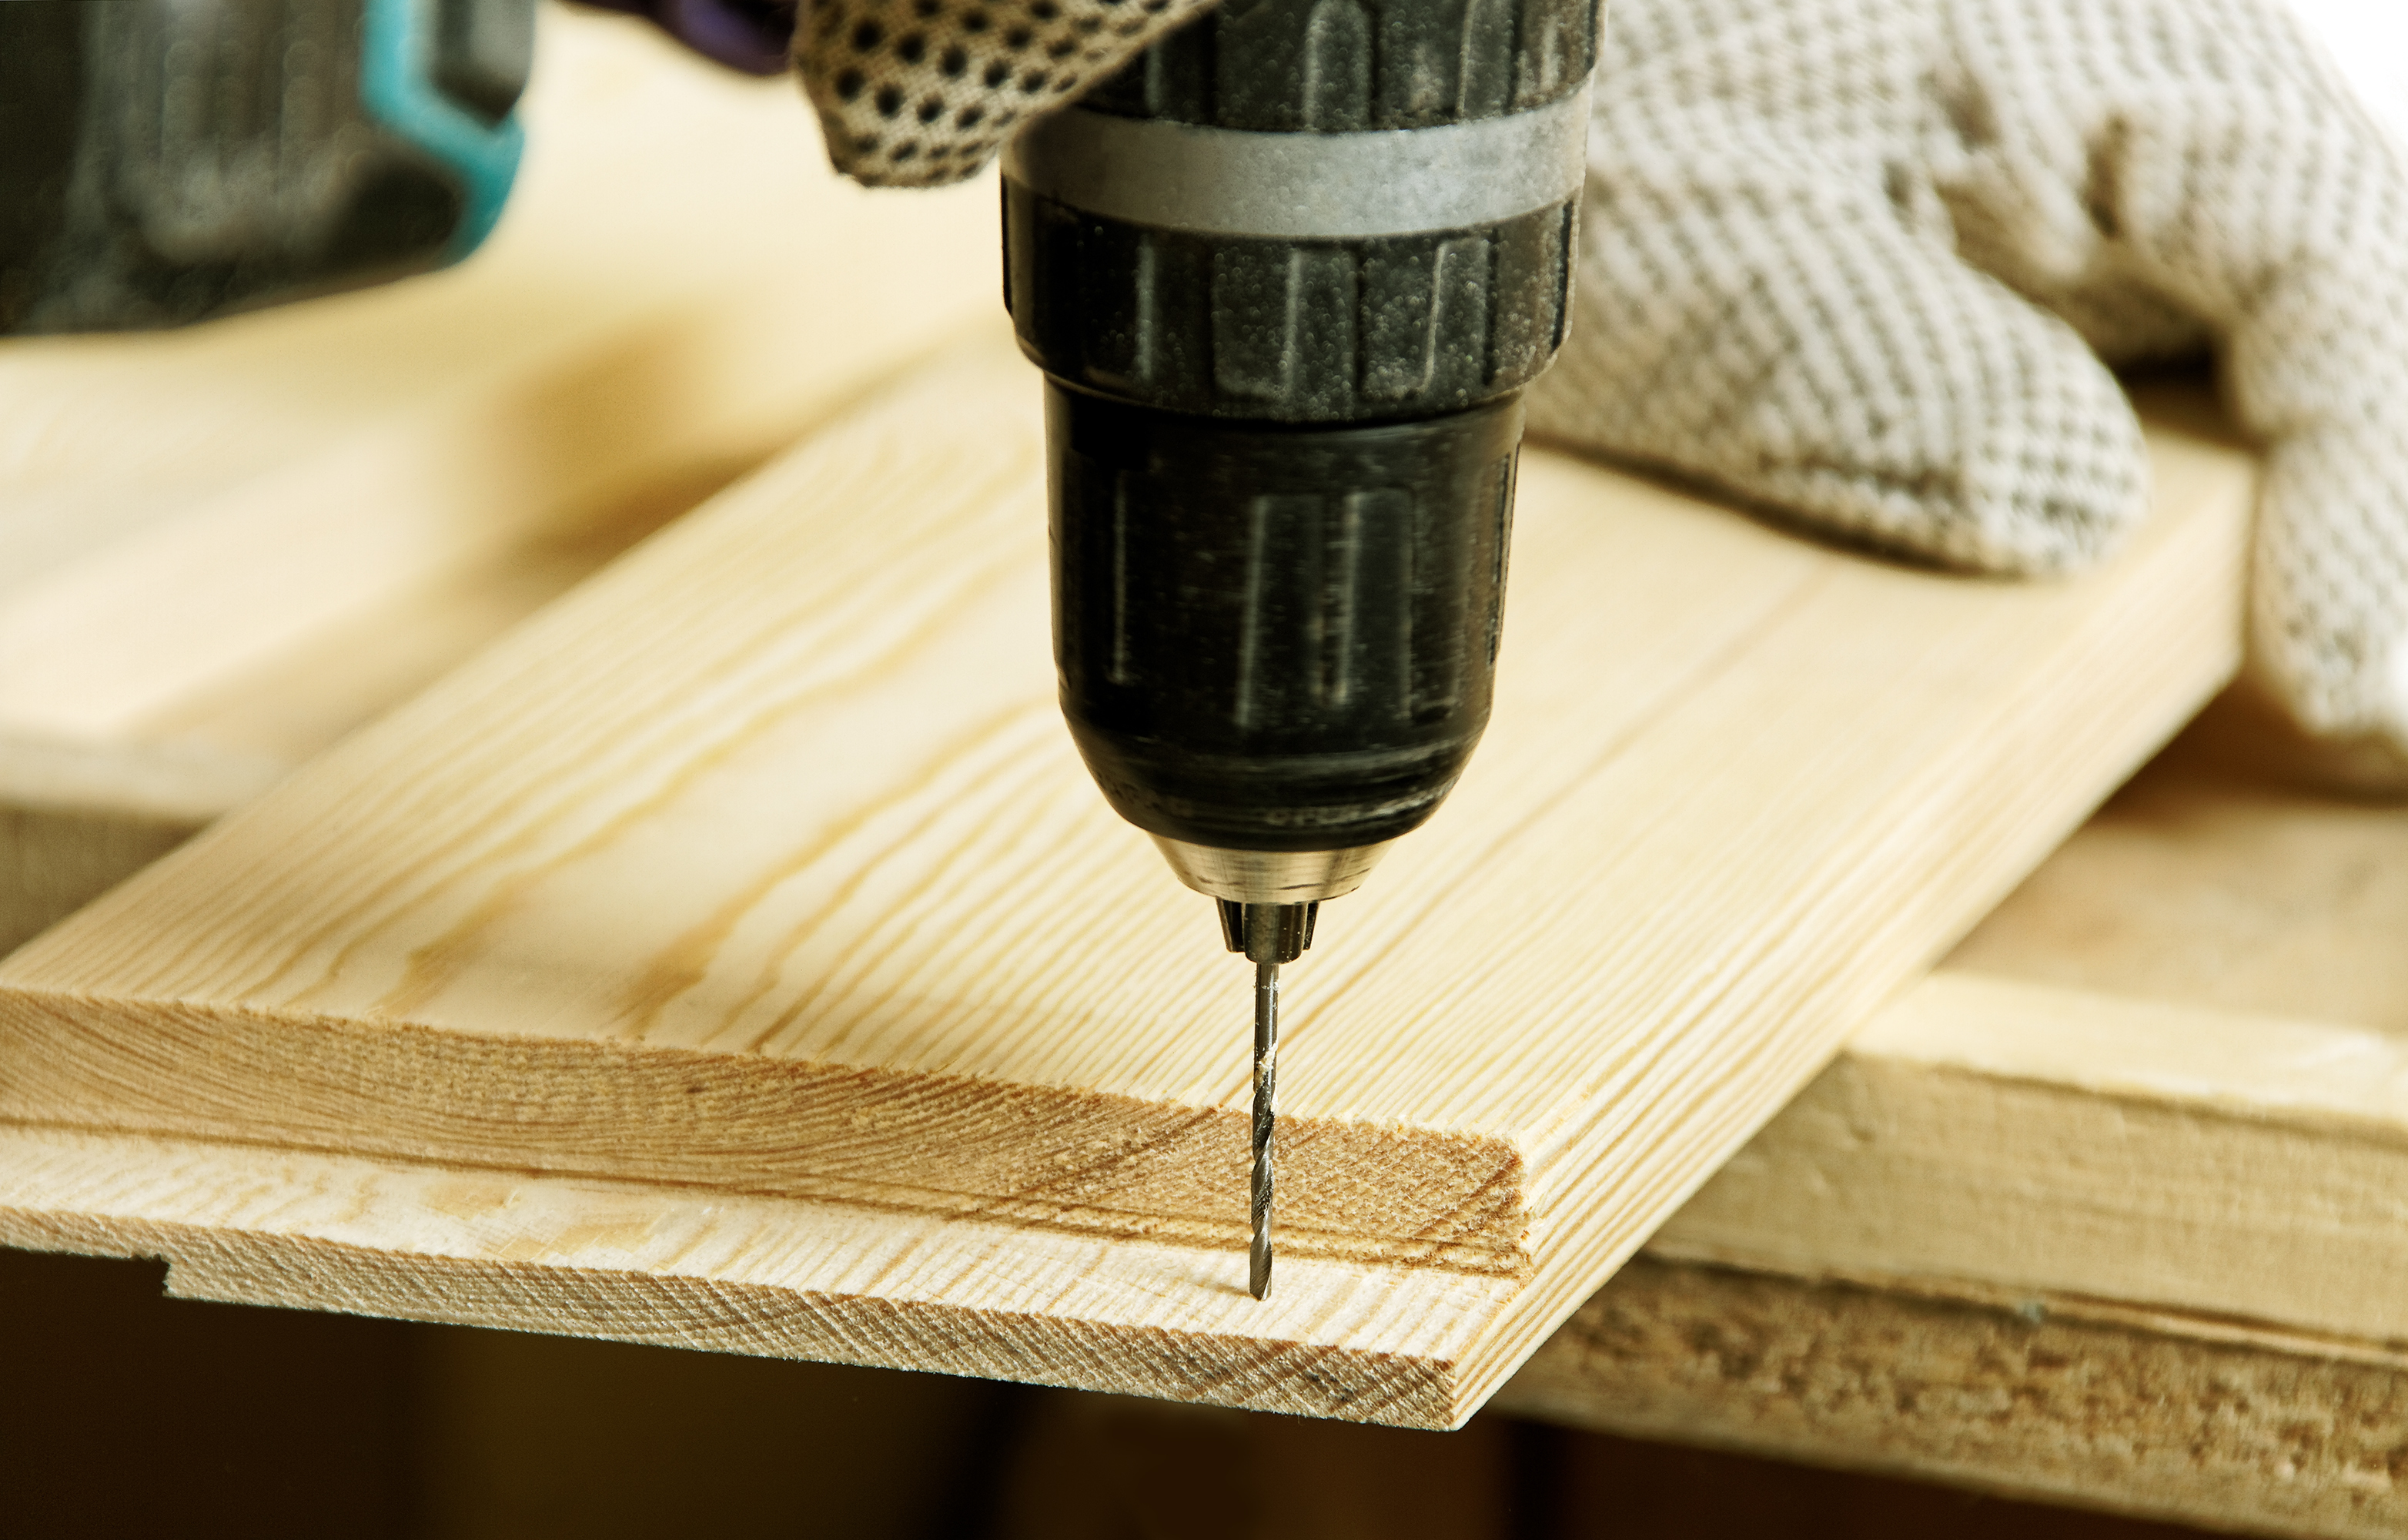
A few tips can make your power drill experience a little more pleasant.
Step 2: Understand the speed options on the drill. Single-speed drills have one speed and no options. When the power button is pressed, the bit spins at full speed. With a variable speed drill, the farther the trigger button is pressed in, the faster the bit will spin. Multiple speed drills typically have a high and a low speed, sometimes marked “1” for low and “2” for high. Use low speed to drive screws or mix paint and full speed to drill holes.
Step 3: Most drills have a built-in clutch for safety and convenience. The clutch will stop the flow of power to the drill when resistance is encountered to protect the operator from injury. If it is an option, use the torque-adjustment collar to control clutch engagement.
Step 4: The torque-adjustment collar, located on the head of the drill just below the drill bit chuck, will have a range of numbers and possibly a picture of a drill bit and of a hammer. The higher the number, the higher the resistance must be before the clutch will engage and stop the drill. Use a torque setting between 1 and 5 to drive short screws into materials less than 1/4″ thick. Use a setting between 6 and 15 for large screws and thicker materials. Phillips-head screws are designed so bits will “cam out” or jump away from the screw head if torque is set too high. Choose the lowest torque setting possible to maintain optimal control when driving screws. Use the drill bit icon for drilling holes and the hammer icon when using percussion-rated bits to drill into concrete and other hard surfaces.
Step 5: Hold the drill in line with the screw at all times. Apply steady pressure to ensure smooth and straight drilling. When it comes to power drills, slow and steady wins the race… except for the occasional need for a burst of speed.
— Have a home improvement question you want answered by the Fix-It Chick? Email it to Linda Cottin at LawrenceLiving@ljworld.com.