DIY stocking stuffers
These small gifts for toddlers don't take much time
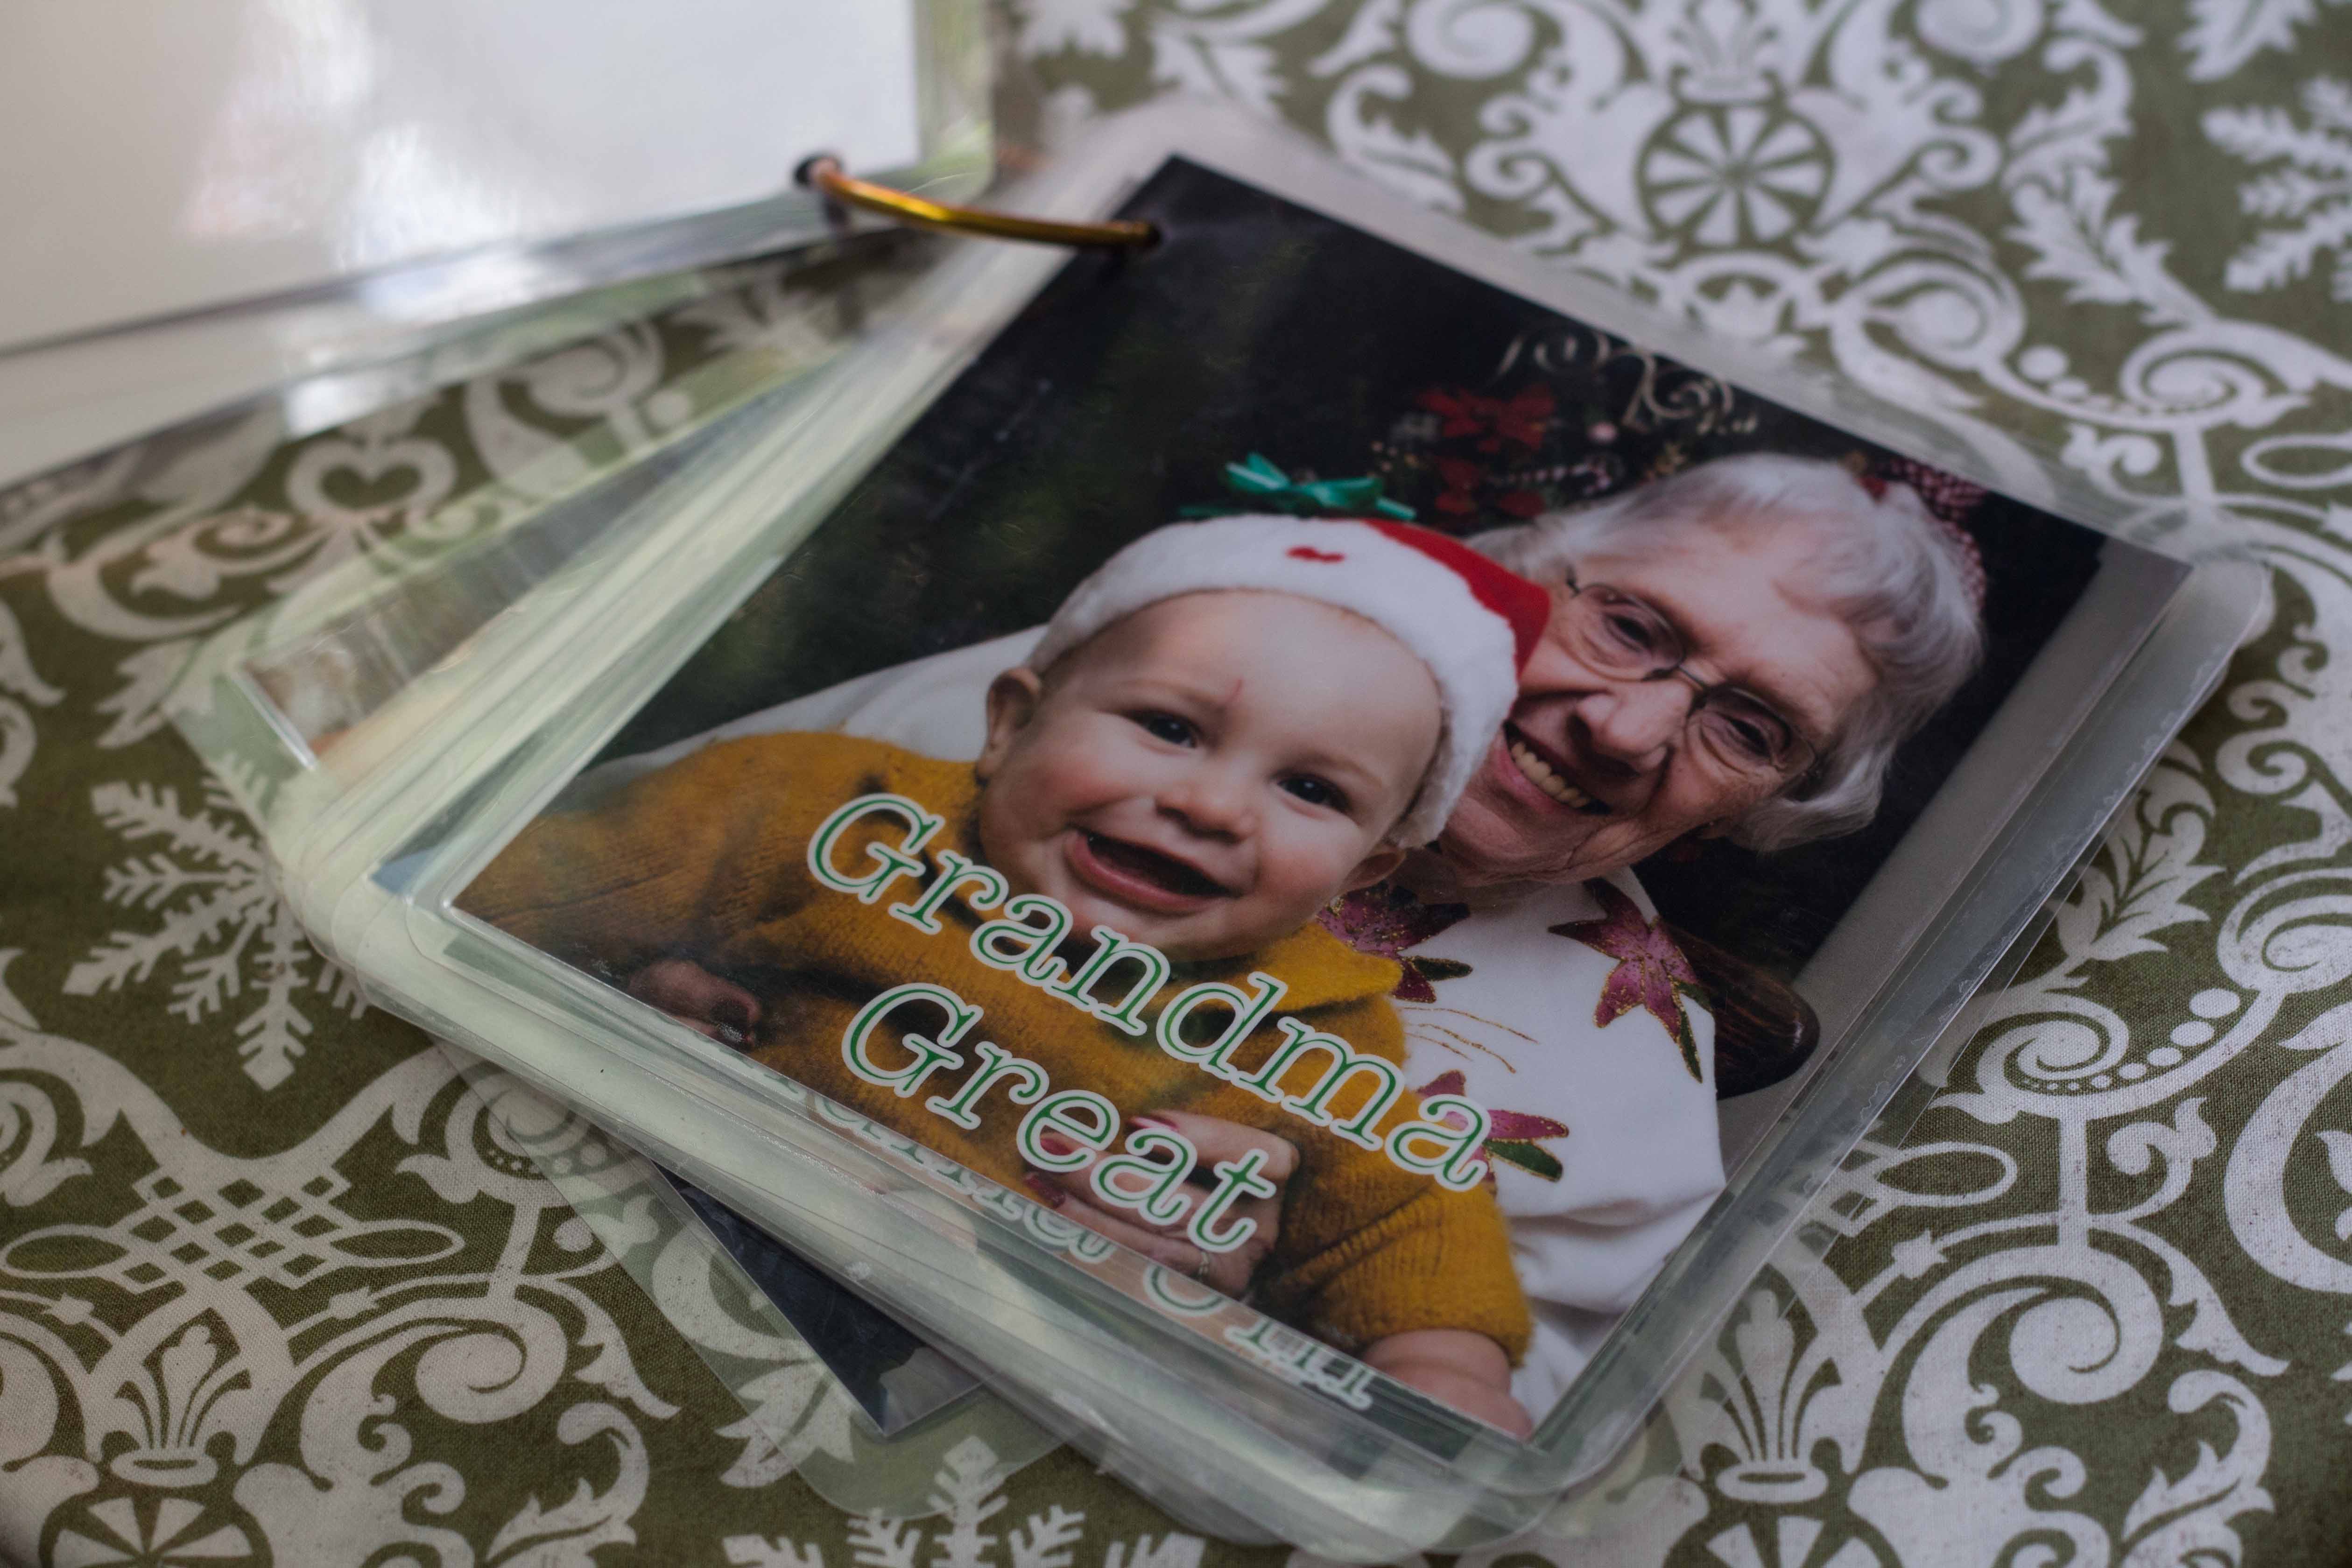
A people flip book helps a toddler recognize family and pets. Photos are labeled, laminated and put on a binder ring.
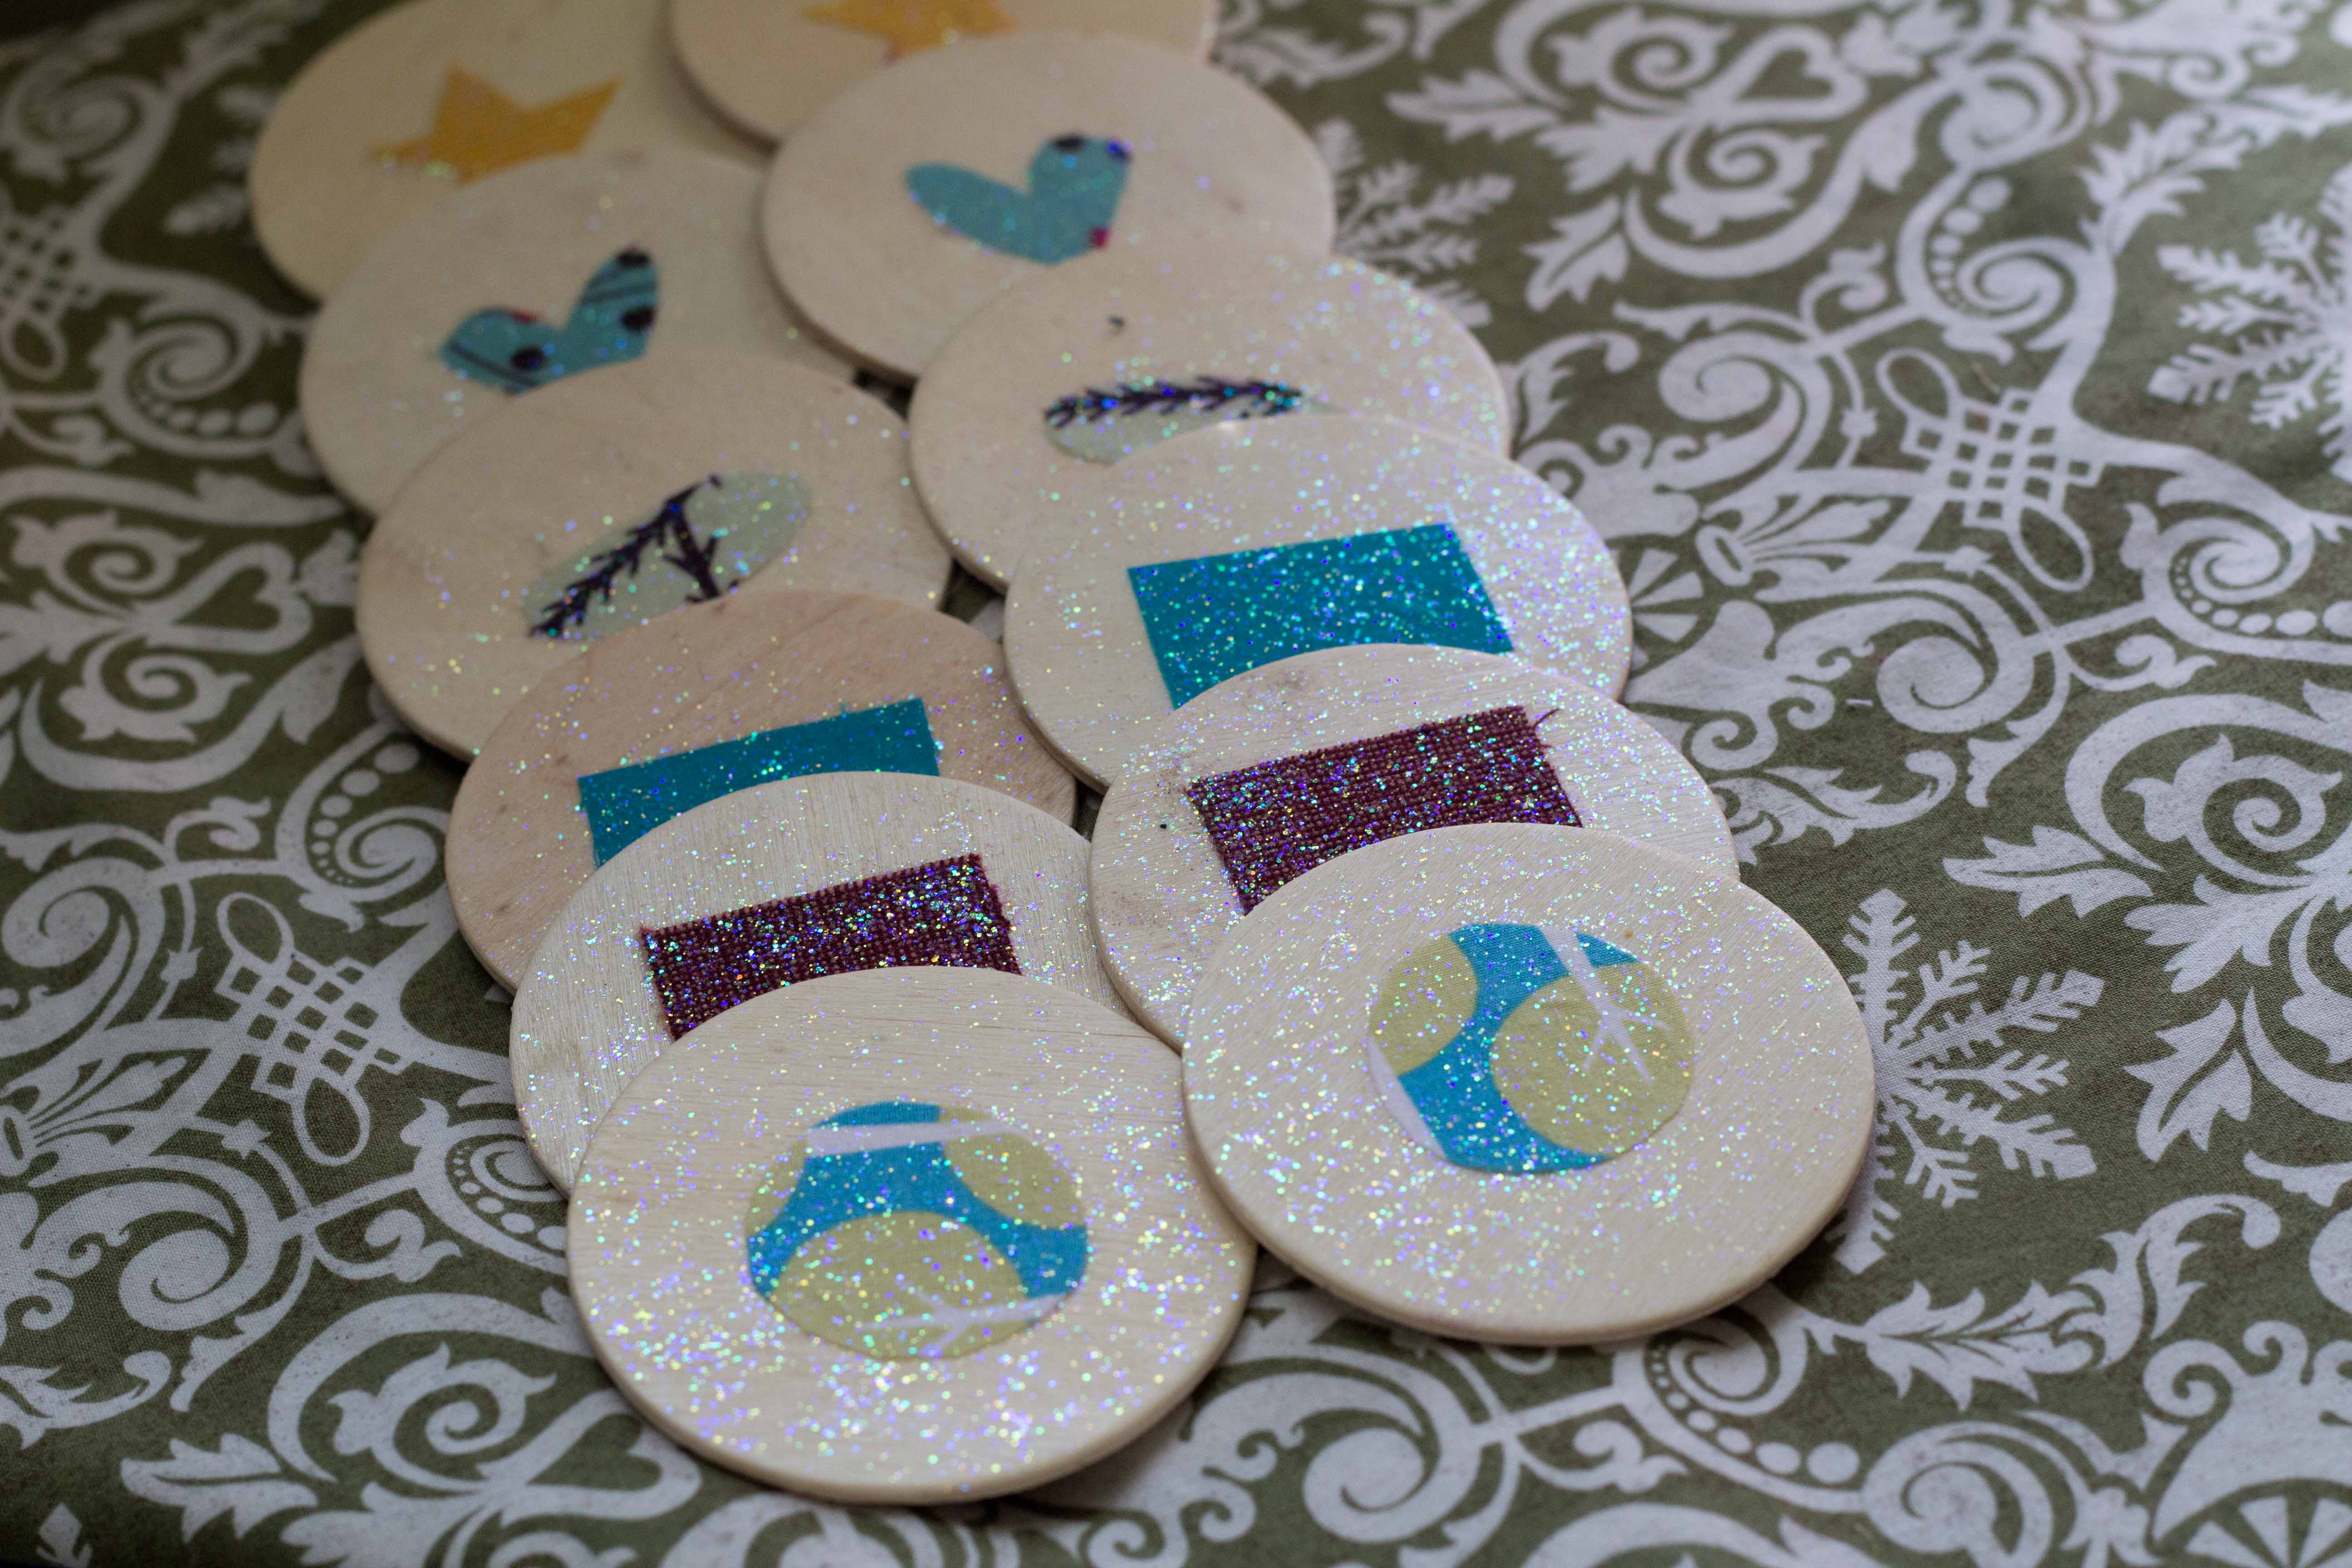
A fabric scrap shape-matching game with fabric shapes glued onto round wooden tiles can help toddlers learn while playing.
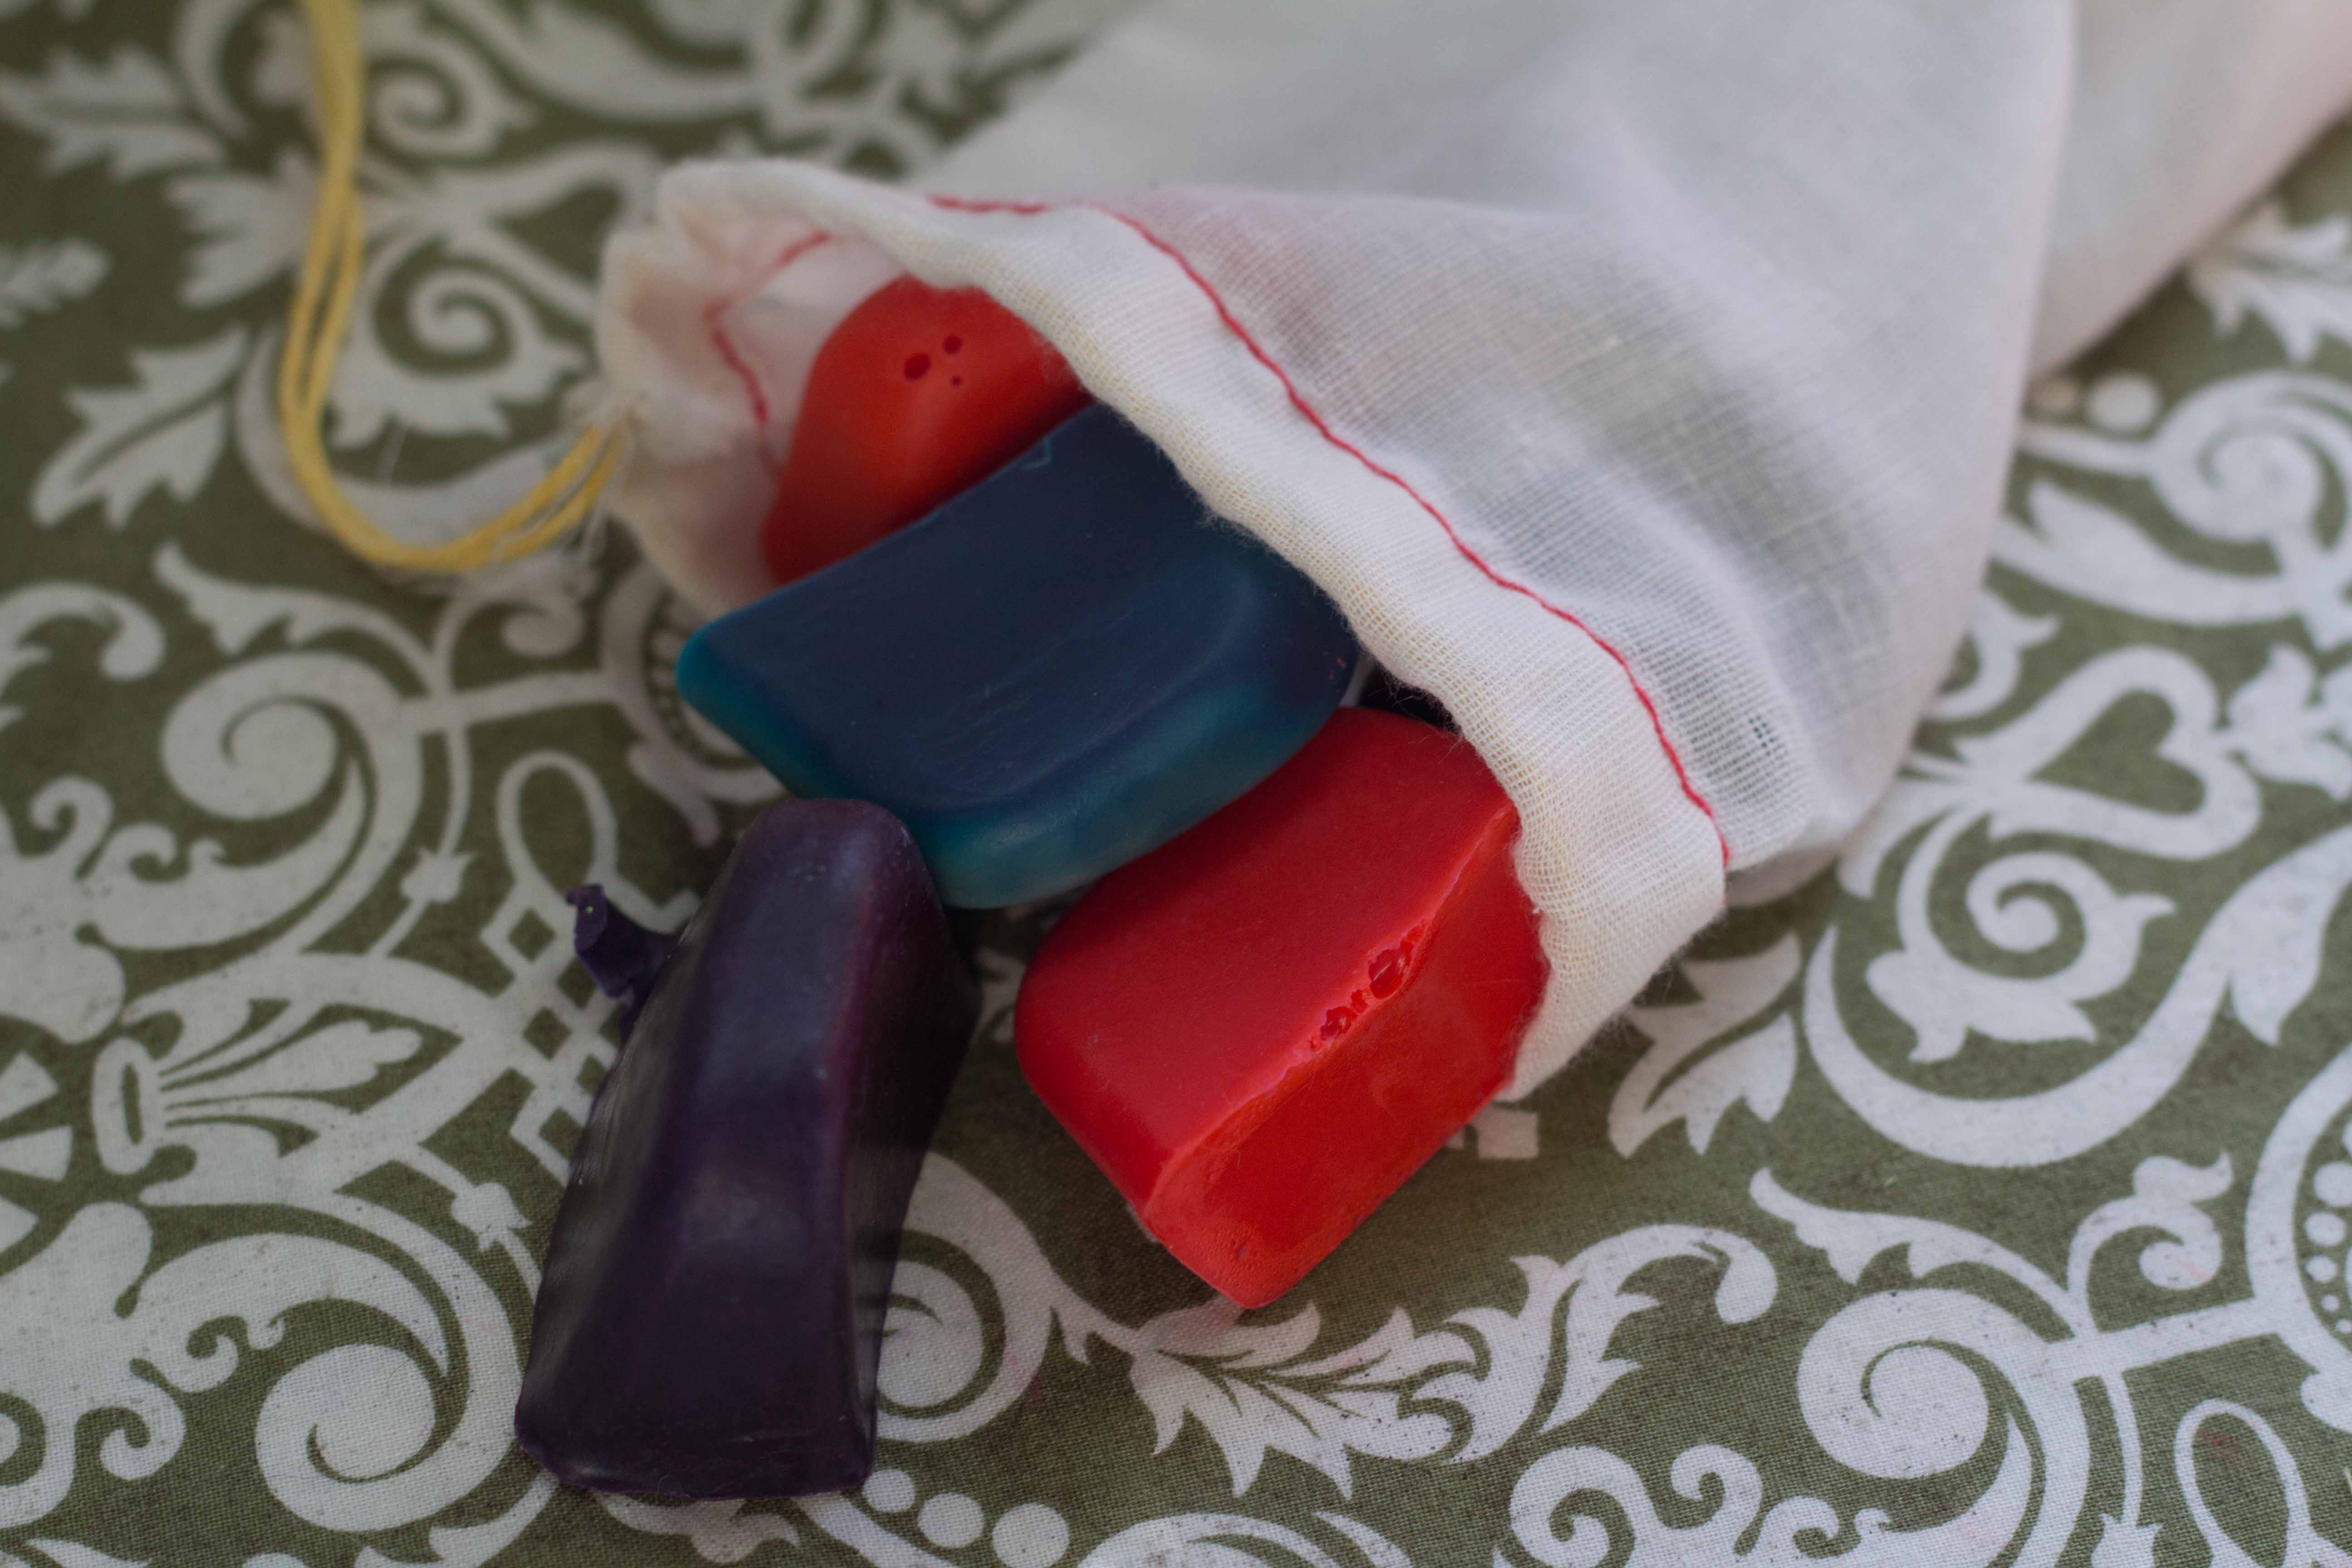
Homemade bath crayons are made from melt-and-pour soap combined with gel food coloring poured into ice cube trays. They won’t stain the tub but may temporarily color fingers.
While I love the tradition of stuffing the stockings, it sometimes gets hard to think of items that are useful, fun and not too expensive. While I could easily make a stocking full of cheap toys for my 1 ½ year old son, I’d be cursing them — each time I step on one or have to pick it up — all the way into the New Year.
That being said, like most mamas, I can’t spend a fortune on stocking stuffers. Nor do I have long stretches of quiet time to myself to meticulously make things. If it can’t be done in nap or two, it can’t be done.
The following three projects are my answer to this problem. Each one can be made quickly and inexpensively. Further, they’re all toddler-tested to be fun.
People flip book
This one is fabulous to keep in the car for those moments when you just need a distraction. You’ll probably have to read the book with your toddler a few times, but before long he or she will be flipping though the pages, naming all the friends and family.
To make the book, pick out pictures of your toddler with all of his or her favorite people — grandma, his best auntie, or even a pet or two. Then, using the computer software of your choice, add the name of each person to the photo in bright, fun letters. I also made a cover with a picture of my son and “Knox’s Peeps” as a title.
Print the photos yourself, or have them printed. Then laminate them to make the book more durable.
After I laminated the photos, I noticed that the corners were a bit sharp, so I rounded them off with scissors. Punch holes in the upper corner of each photo, and join them together with a big binder ring or key ring.
Time: About 1 hour of active work time. Cost: For the print size I chose, prints were 29 cents each and the lamination was about $10.
Fabric scrap shape-matching game
As soon as he learned his shapes, my toddler was so eager to show me his new knowledge, proudly shouting out “octagon” and “circle” every time we saw one. Take that new skill up a notch with this little shape matching game.
To make it, purchase 12 round, wooden tiles from the craft store. (They’re in the wood crafting section, and make sure you buy a size that’s big enough not to be a choking hazard.)
Then, dig into your fabric scrap bin for 6 bright fabrics. Don’t have a scrap bin? Find a few holey shirts or outgrown pants instead.
Using sharp scissors, cut out shapes to fit on the tiles. I did a circle, a square, a rectangle, an oval, a star and a heart.
Center the shapes on the tiles, and brush over a coating of glue or, as I did, glittery Modge Podge. Tuck them all into a small bag or box for storage.
Time: 30 minutes. Cost: The tiles were 30 cents each. I already had the glue, and the fabric was free.
Homemade bath crayons
Fair warning: Do not give these to your child the night before he is to be a ring bearer at your cousin’s wedding or some other important function that requires pristine hands. They don’t stain the tub or much of the skin, but the little fingers holding them will be a bit more colorful by the end of the bath.
That being said, there’s very little that’s more fun on a dull Monday night than announcing, “Color bath!” and watching your child’s face light up.
To make the bath crayons, head to the craft store for a package of melt-and-pour soap. (Note: I tried to do this with plain, bar soap, but the crayons never solidified correctly.) While you’re there, swing through the cake decorating aisle and get three jars of gel food coloring. Remember, you only need to buy red, blue, and yellow because you can mix them to get the secondary colors.
Follow the directions on the soap to melt it. Meanwhile, set up six containers to mix your food coloring. Add 2-3 teaspoons of color to each container. You can eyeball the amounts, but you’ll need to use most of the food coloring to get vibrant crayons, so don’t skimp.
Once the soap is melted, pour equal amounts into each container. Working quickly, mix the soap with the food coloring, and pour the soap out into a mold. While you can find fancy shaped molds at the craft store, I just used my ice cube trays. The shape ended up being perfect for my son’s small hands to grab hold of.
Give the crayons a few hours to solidify, then pop them out of the molds and enjoy.
Time: 30 minutes active work time. Cost: $10 for the soap, and $2 each for the jars of food coloring, but this makes enough for a whole preschool class.