Mulch can beautify yard when applied properly
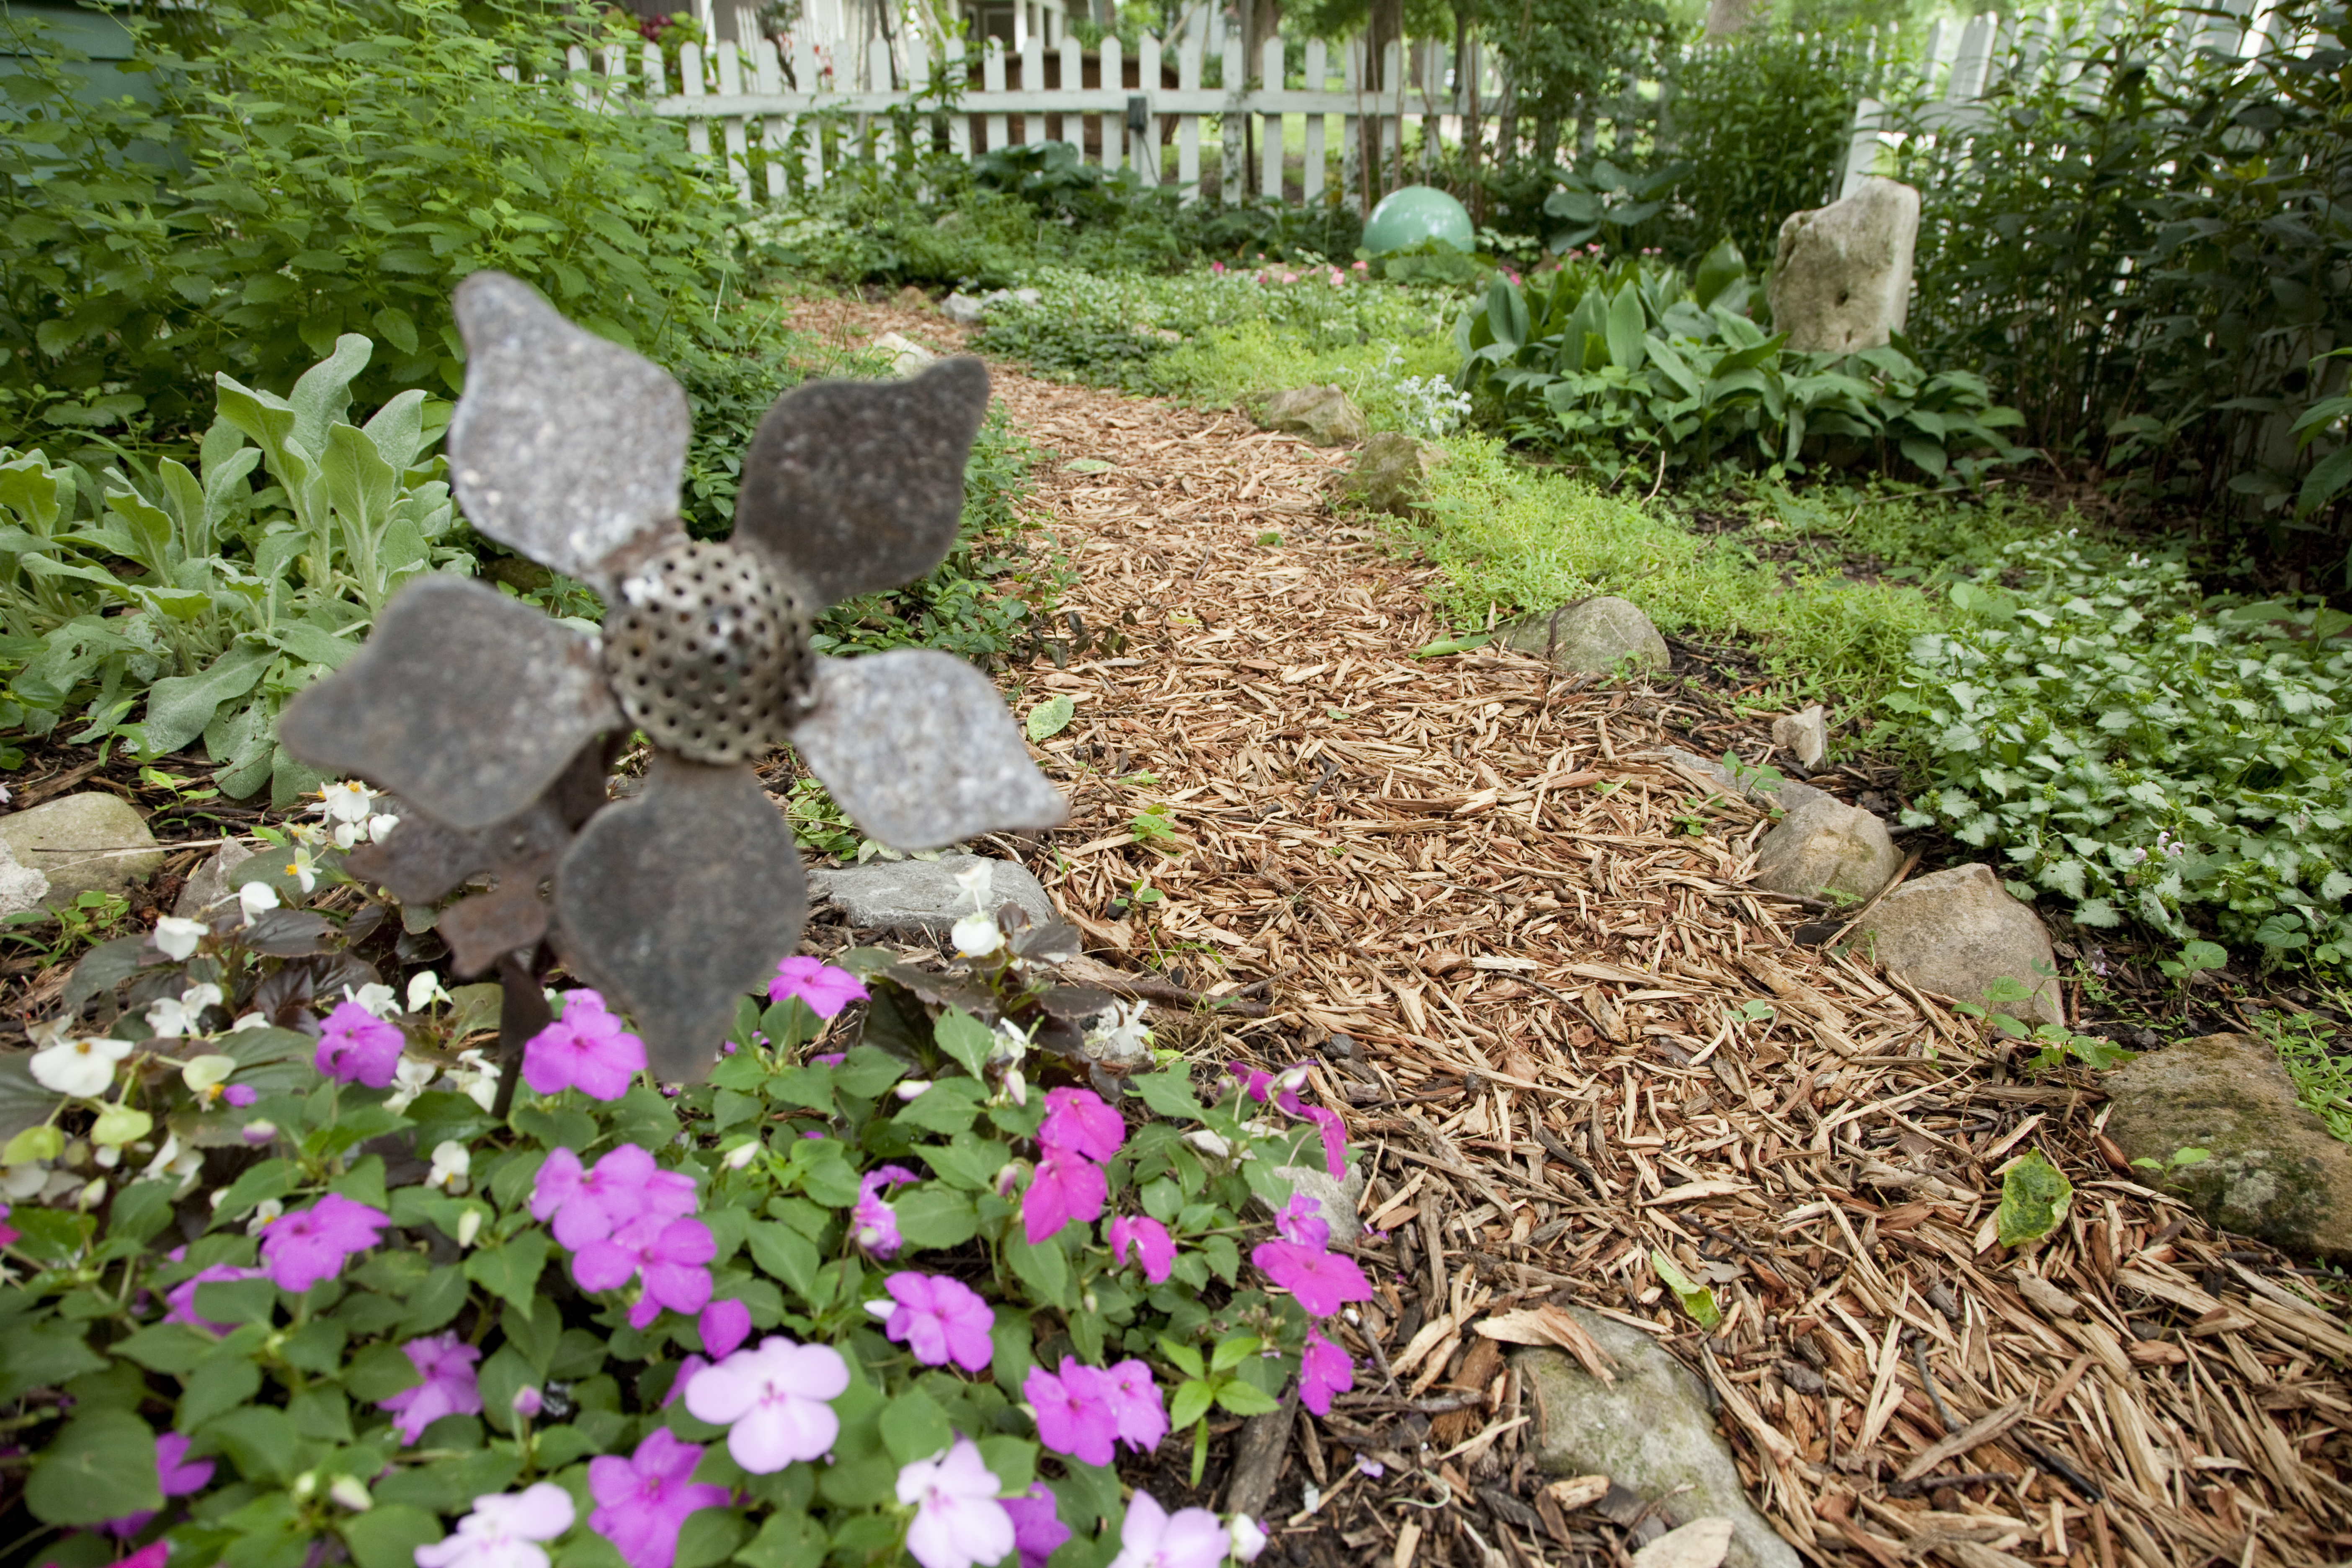
While aesthetically pleasing, a thick layer of mulch also prevents soil erosion, increases moisture retention and eliminates weed growth.
Making a professional looking mulch bed is easy with a shovel and a relatively strong back.
Step 1: Plot the course. Use a shovel or a can of spray paint to outline the edges of the new mulch bed. Keep in mind that when it comes to gardening, curves are more natural-looking than straight lines.
Step 2: Instead of spraying chemicals or clove oil to eliminate existing vegetation in the new mulch area and laying weed block cloth to prevent weeds from growing up through the new mulch, lay 4 to 6 inches of mulch in the new bed. The thick mulch will prevent sunlight from reaching the dirt below, thus eliminating any possible unwanted vegetation growth.
Step 3: Create a professional edge by using a shovel to dig a channel 6 to 8 inches deep along the edge of the mulch bed. Be sure the outer edge of the channel is smooth and vertically straight before proceeding.
Step 4: Use the shovel to slope the inside edge of the mulch channel to a 45-degree angle. If properly done, this angle will prevent the mulch from spilling out onto the surrounding lawn area.
Step 5: Fill in the bed area with your choice of mulch. A minimum of 4 inches is needed to effectively block weeds from germinating below the mulch. New rubber mulches will last longer, but they are not degradable. Colored mulches can add interest to your landscape, while maintaining an environmentally friendly allure. Meanwhile, the old standbys cypress, cedar and pine will give you a uniform look that is easily matched year after year.