Re-caulk your tub to avoid more costly bathroom repair
Bathtub caulk is more than just a place to grow mildew. A well-placed bead of caulk keeps water from seeping behind the tub and ruining the floor and walls.
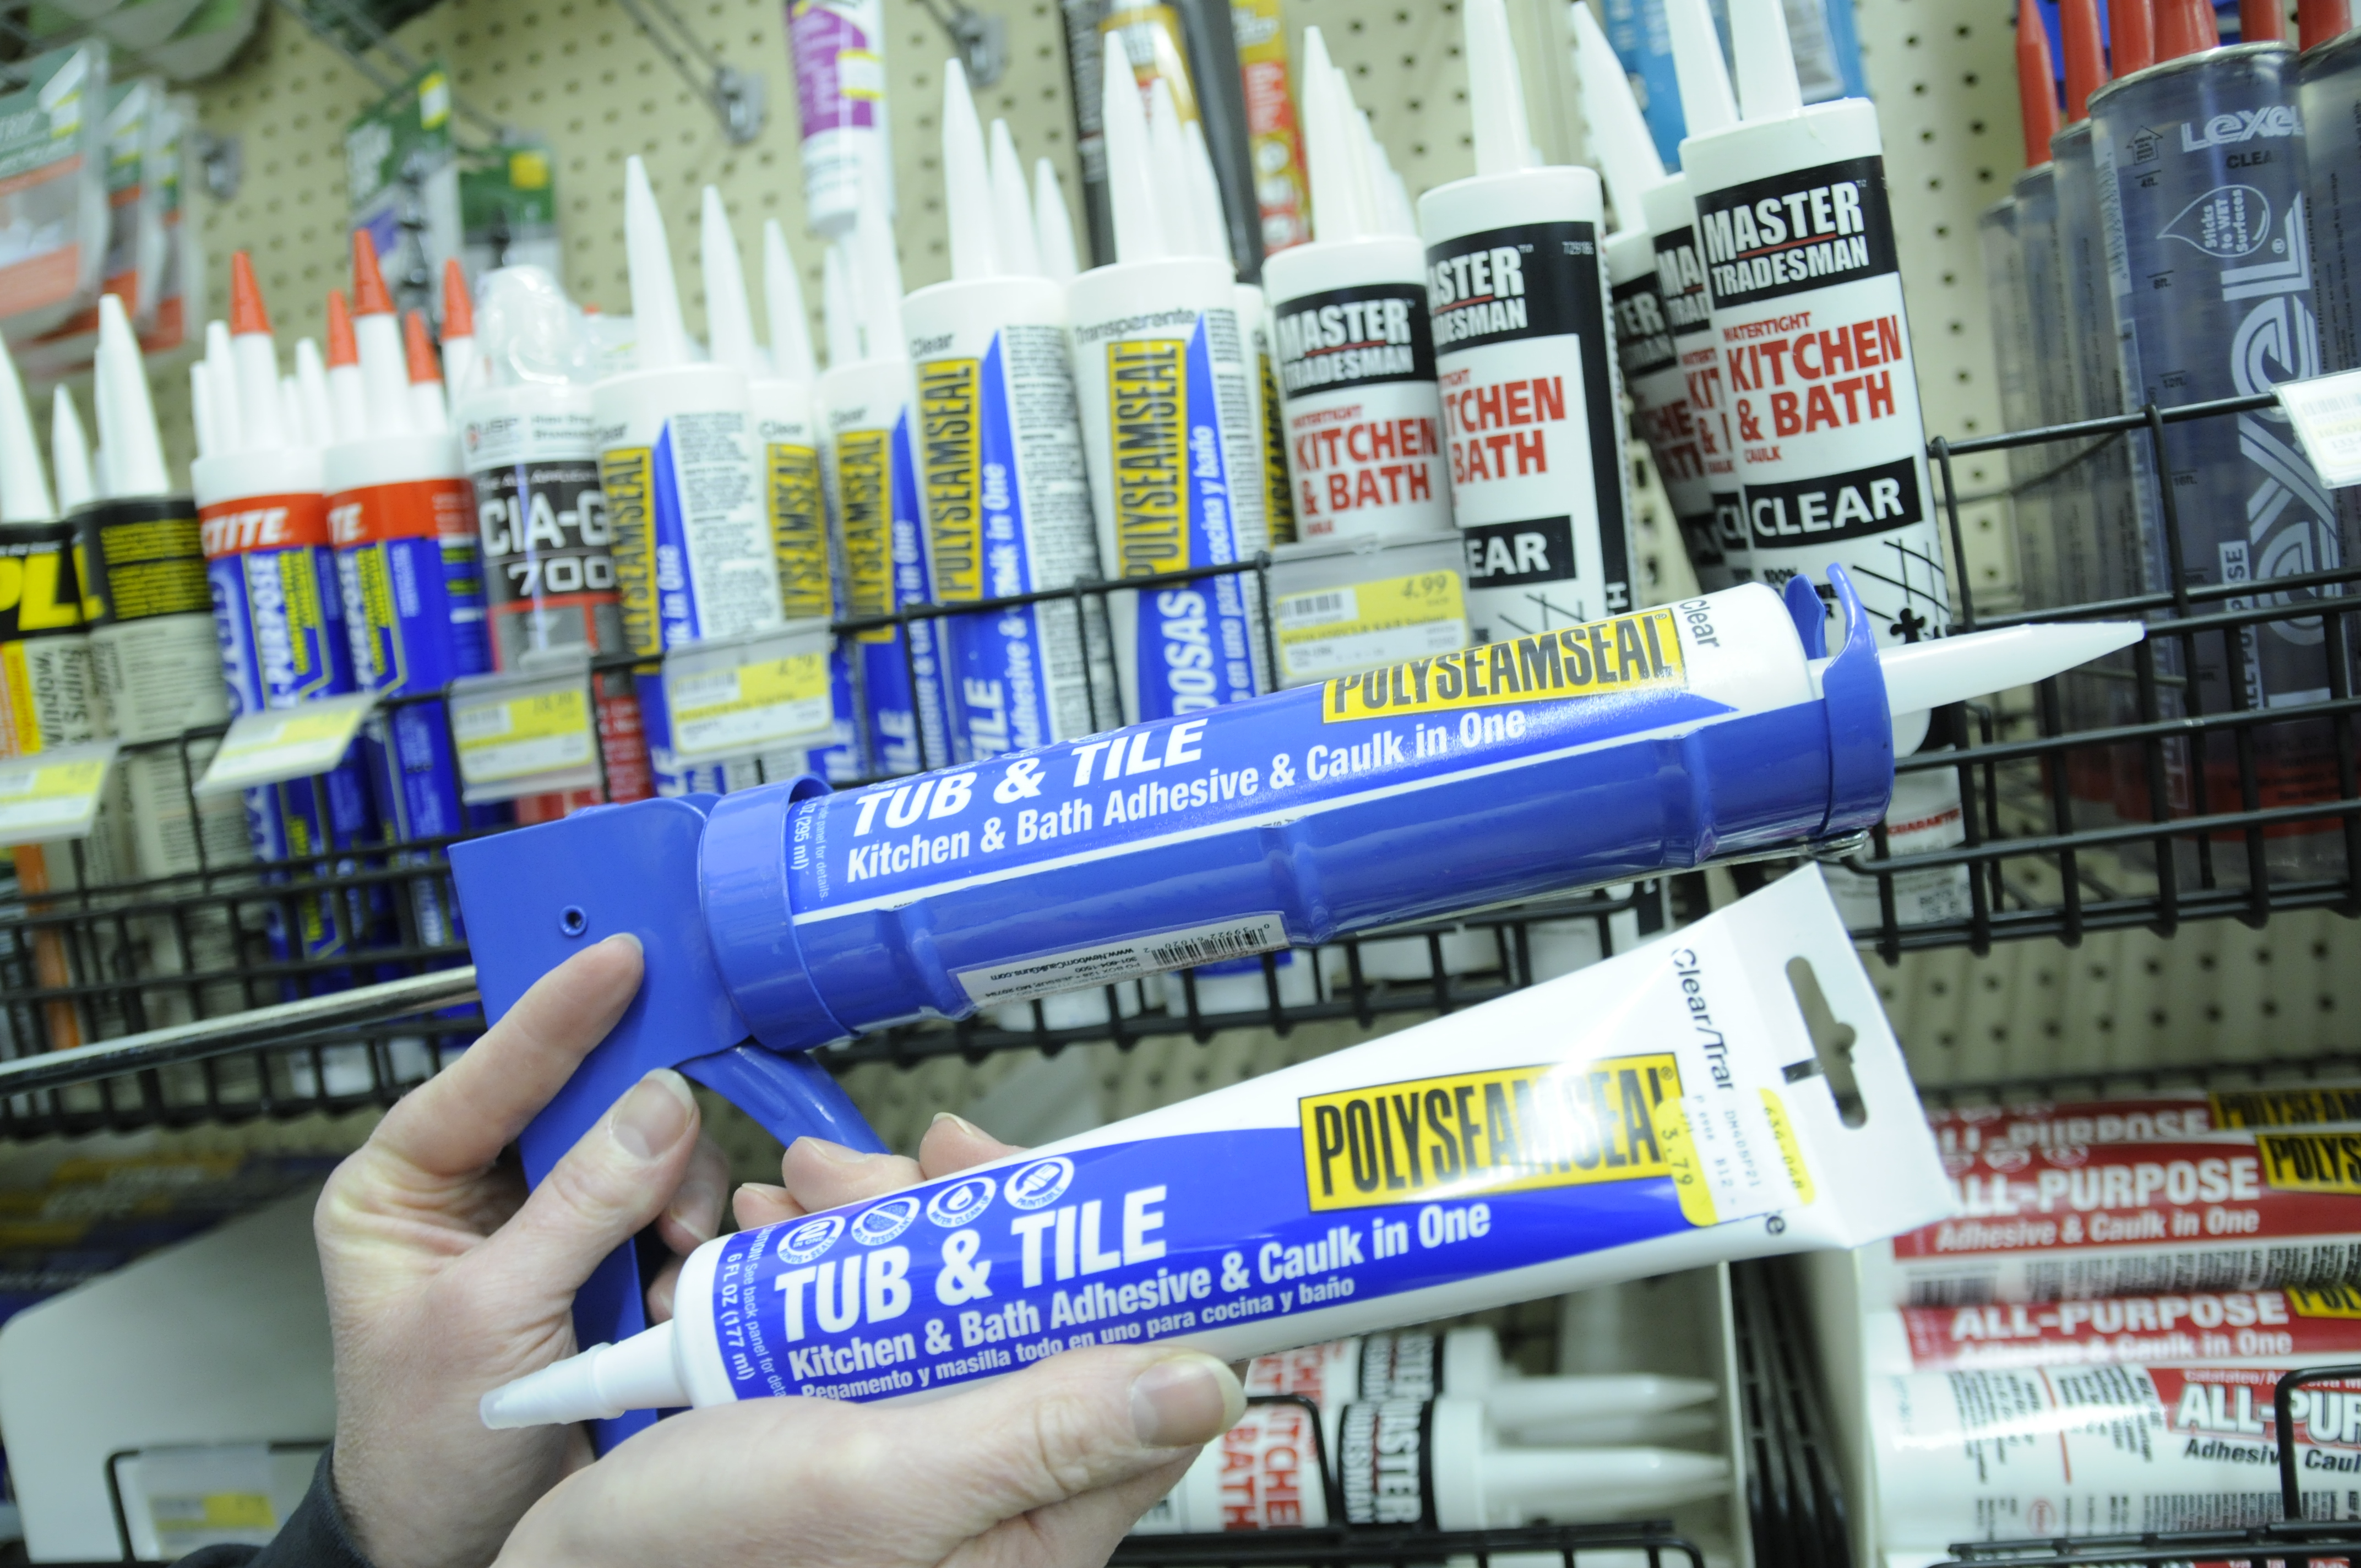
If the caulk around your tub is cracked, black or just plain icky, a quick trip to the hardware store and a day or two without a shower will save you from a much more costly home repair.
Step 1: Remove the old caulk completely. Use a plastic caulk removal tool, a flathead screw driver and a razor blade to scrape every last bit out. Be careful not to scratch the tub or wall surfaces.
Step 2: Clean the area to be caulked thoroughly with bleach water to remove any mildew. After the area has completely dried, use a towel or cloth soaked with denatured alcohol to prepare the surface for caulking.
Step 3: Apply two strips of blue painter’s tape horizontally along the shower wall and tub, leaving a quarter inch gap for the caulk to fill.
Step 4: Cut the tip of your latex-based, mildew-resistant tub and tile caulk tube off at a 45-degree angle; the smaller the opening the better. If you are using a caulking gun, be sure to puncture the seal inside the tube with a long nail or wire.
Step 5: Starting at a corner where two walls meet, quickly apply a smooth, steady bead of caulk into the crack. Work fast, doing one wall at a time. Speed is more important than neatness at this point.
Step 6: Dip your finger into a cup of warm water mixed with a few drops of dish soap. Smooth the bead of caulk around the tub with your finger, wiping excess caulk onto a paper towel or disposable rag.
Step 7: Wait two hours for the caulk to set and then carefully remove the painter’s tape by pulling it straight out — not up — from the tub.
Admire your handiwork for at least 24 to 48 hours before showering, to guarantee that both your problem and your caulk are well-cured.