Getting sharp in the kitchen: Chef Nancy Stark teaches helpful knife technique
Among the dishes presented at Knife
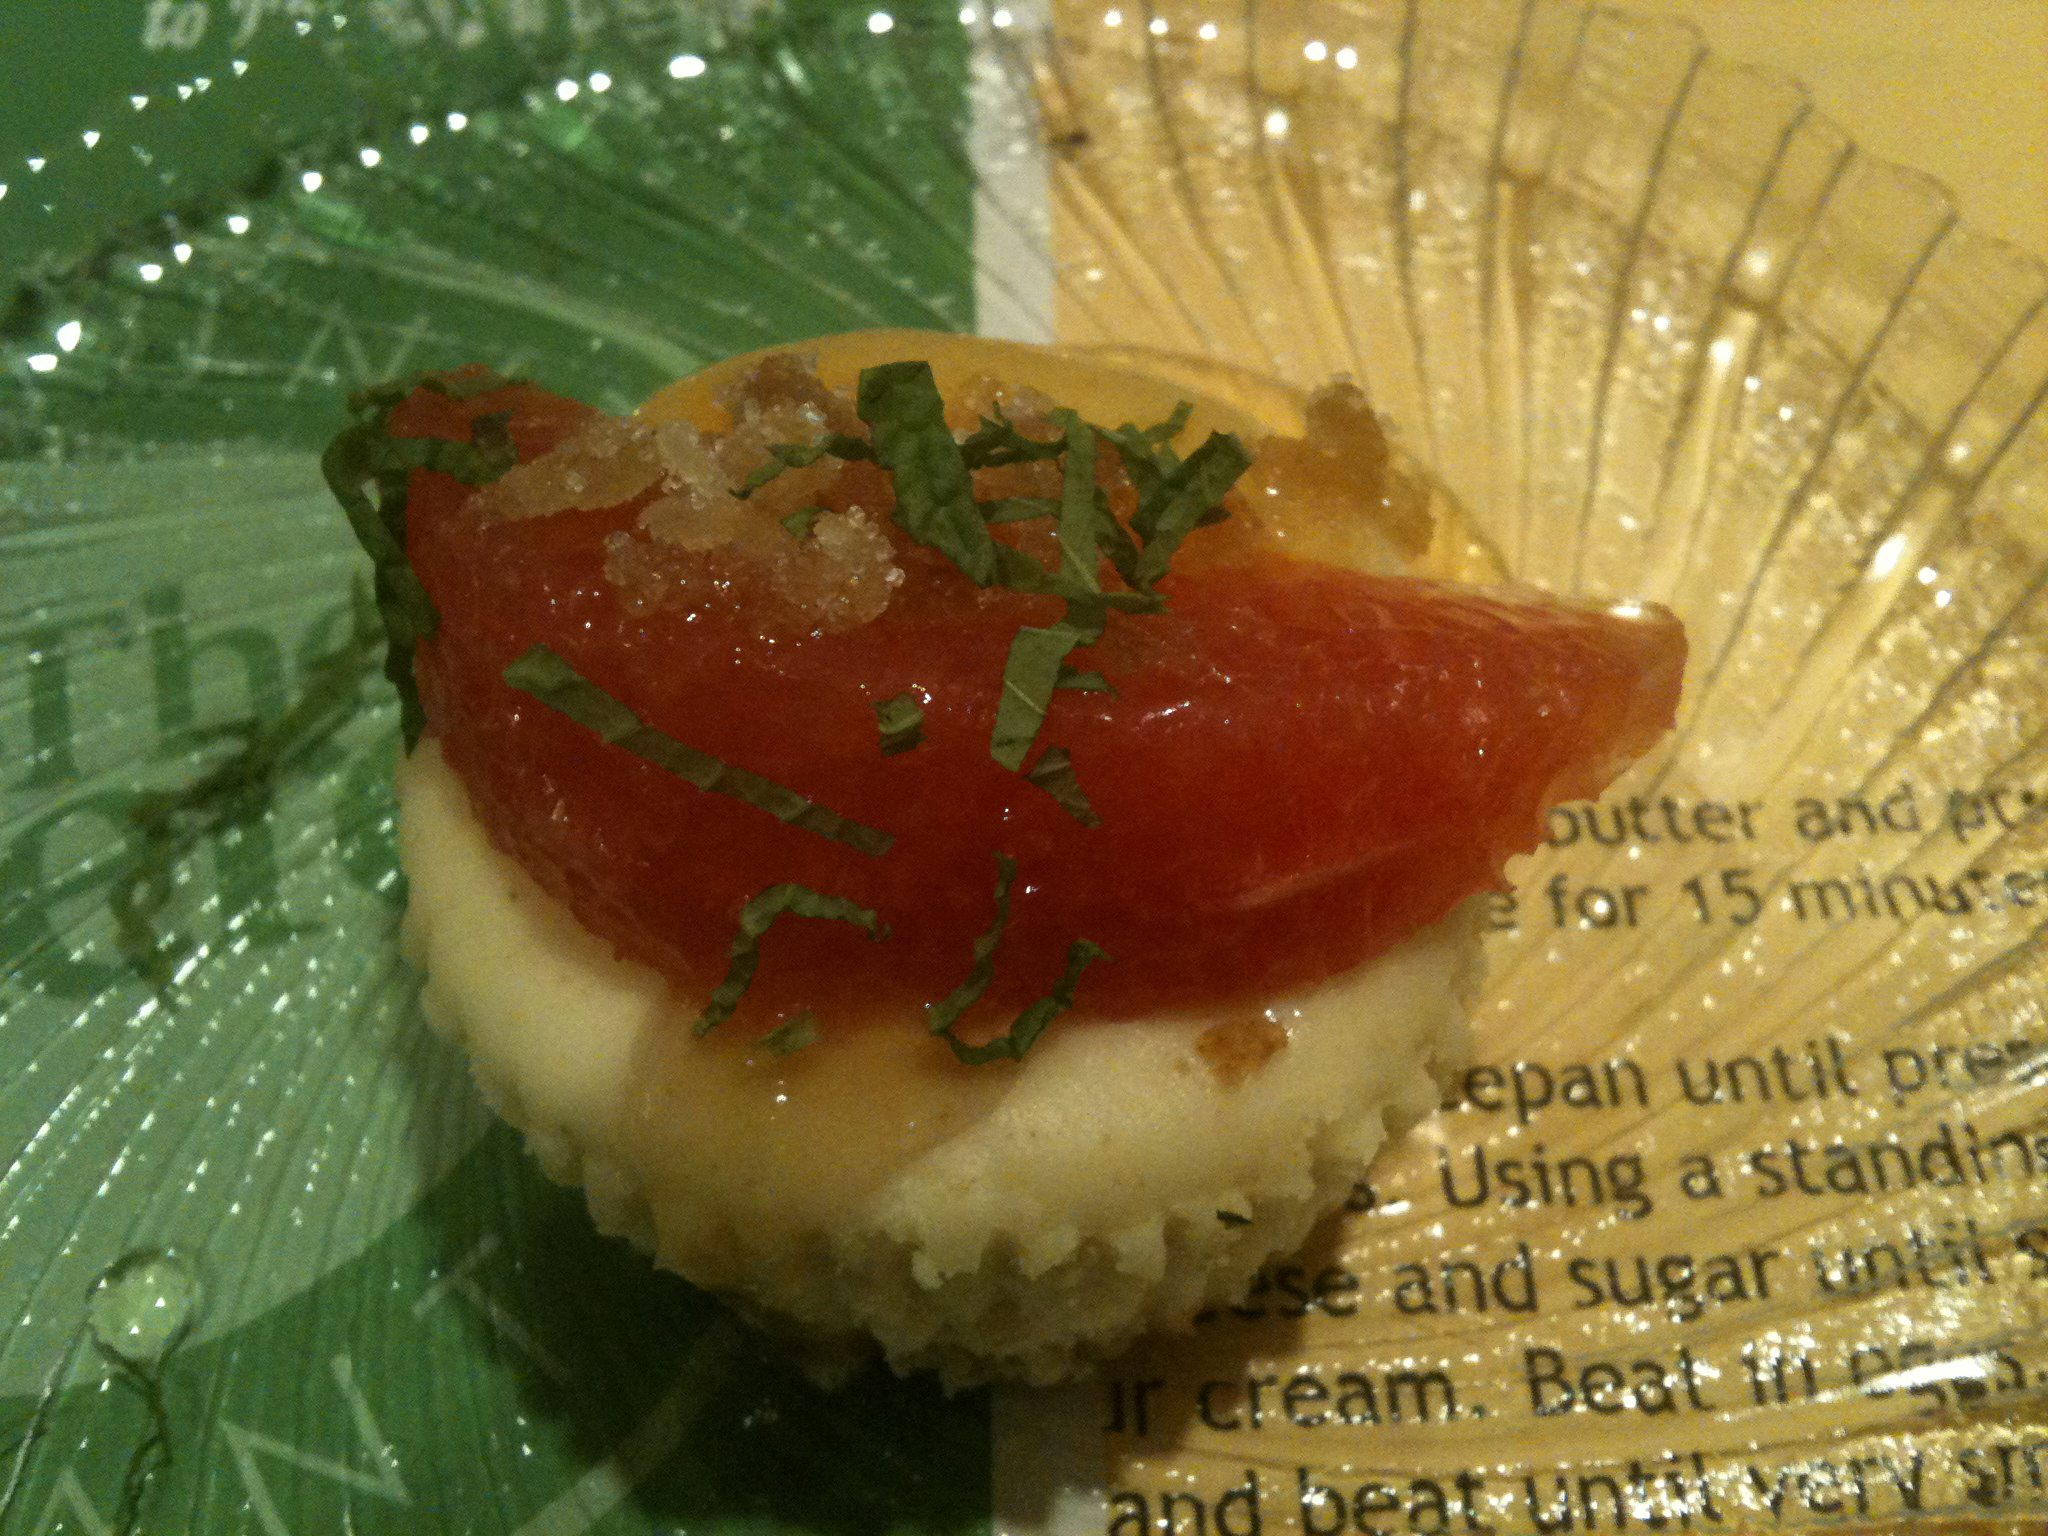
Knife Skills for the Home Cook
If you want to learn Nancy Stark’s secrets in person, she’ll be teaching a repeat of her Knife Skills for the Home Cook class from 7 to 9 p.m. on March 9th. The cost is $20 per person or $18 for Merc owners and seniors. For more information, call 843-8544.

Nancy Stark, a freelance chef in Kansas City, demonstrates proper cutting technique for a butternut squash. Stark taught a class Tuesday at The Community Mercantile, 901 S. Iowa, called Knife
I have a deep dark secret that’s completely embarrassing as a professional food writer.
My knife skills suck.
And by suck, I mean that not only can I not chop a tomato uniformly to save my life, I’m also so dangerous it’s an absolute miracle I have all 10 fingers with which to type.
Yes, despite covering food for the Journal-World and Lawrence.com for three years, my knife skills consist pretty much only of what I’ve seen from the cheftestants on “Top Chef.” In fact, my husband isn’t likely to leave me alone with a butternut squash and a chef’s knife, no matter how many times I’ve made butternut squash burritos.
So, when I was invited to watch chef Nancy Stark demonstrate proper knife skills during a Tuesday night class at the Community Mercantile, I was psyched. Finally — finally — I would no longer strike fear into the hearts of loved ones by offering to chop up a single onion.
And, after two hours during Stark’s class at The Merc, plus a little preview session I had before class with photographer Richard Gwin, I came away with a ton of great advice, and the confidence that I will never leave my salads with mushy mangled tomato pieces ever again.
Among the tips from Stark, a freelance chef from Kansas City:
Make what’s round flat. “My philosophy is always to try to make round things be more flat,” Stark says. “Because when things are flat, they just lay down on the cutting board and behave better.” Stark says the best way to do this is to cut off the stem ends to create a flat surface. For example, with an onion, she’ll cut off both ends, then she’ll slit the peel and remove it. Next, she’ll cut it in half to create an even flatter surface before chopping it.
Keep it short. For long or unwieldy items like butternut squash, Stark will cut off the ends, and then she’ll cut it into smaller chunks, say three or four pieces just 2 to 3 inches in length. Stark says you don’t want anything too tall to sit on your cutting board or you give yourself the opportunity to slip. “That could potentially tip over and it’s when sudden, unexpected movements happen with knives that’s when you get cut,” she says.
Skin side down. Stark says it’s much easier to cut something with an edible skin like a tomato or pepper with the hard skin facing the cutting board. For both bell peppers and roma tomatoes, she recommends cutting off the tops, then cutting a slit and sliding your knife along the meat, cutting out the core and seeds and almost “unrolling” the tomato or pepper until you have a long strip. “Just open a little door in the side of the pepper and you can cut out all that middle part as you go around,” Stark says. “So, the middle, that you don’t want anyway, comes out in one nifty little piece.” Then, lay this flat and begin to cut it.
Strips first. Once you’ve gotten your flat, short lengths set out or unraveled a flat piece of tomato or pepper, Stark recommends slicing thin strips that can later be chopped or diced, or, if need be, kept whole for a salad.
Don’t skimp on the cutting board. Stark says that whether you prefer plastic, maple, bamboo or another surface, it’s important to make sure your board has enough space for you to work. And it’s important to keep the board clear of things like pith or seeds, which could catch the tip of your knife and cause a problem. Also, to help keep your cutting board from sliding around, Stark recommends wiping your counter with a damp towel before putting the cutting board down, that way it will be more likely to stay put.
Don’t default to a small knife. Stark says that if she cuts herself, she’s most apt to do it with a paring knife — the exact knife that she sees amateurs pick up most often. She says that while a small paring knife might seem safe, they tend to cause more problems than they fix because it’s hard to get any weight behind them and they tend to dull quickly because of their utilitarian nature. “It feels safer, but in fact it’s really not,” Stark says. “If any knife I have is going to wound me, it’s probably this one because it’s the dullest.”
Test drive it. She says your best ally in the kitchen is a chef’s knife, between 8 and 11 inches in length. The brand and style is up to you. She recommends going to a place like Ambrosi Brothers Cutlery, 3023 Main St. in Kansas City, Mo., where you can handle knives and feel the grip and weight before purchase.
Keep it sharp. Stark says she sharpens her knives once a week with an electric sharpener. In fact, she says if you only have $200 to spend on knives for your kitchen, don’t buy a knife set, but rather, buy a $50 chef knife and a $150 knife sharpener and move up from there.
Practice, practice, practice. Want to know how to use a knife properly? Make vegetable stew. Stark recommends buying a bunch of different vegetables, from carrots to celery to potatoes, and work on your technique by chopping everything into a stew. That way, you get to try out your skills on several different shapes and types of vegetables and still get a great dinner out of the deal.
“When you get more relaxed with your knife,” Stark says, “it makes everything better.”
I couldn’t agree more. Who wants some stew?
Food

Goat cheese balances mushrooms in vegetarian salad

How to make Easter ham last all week
