The trick to reusing treats: Leftover candy? Use it for building instead of eating
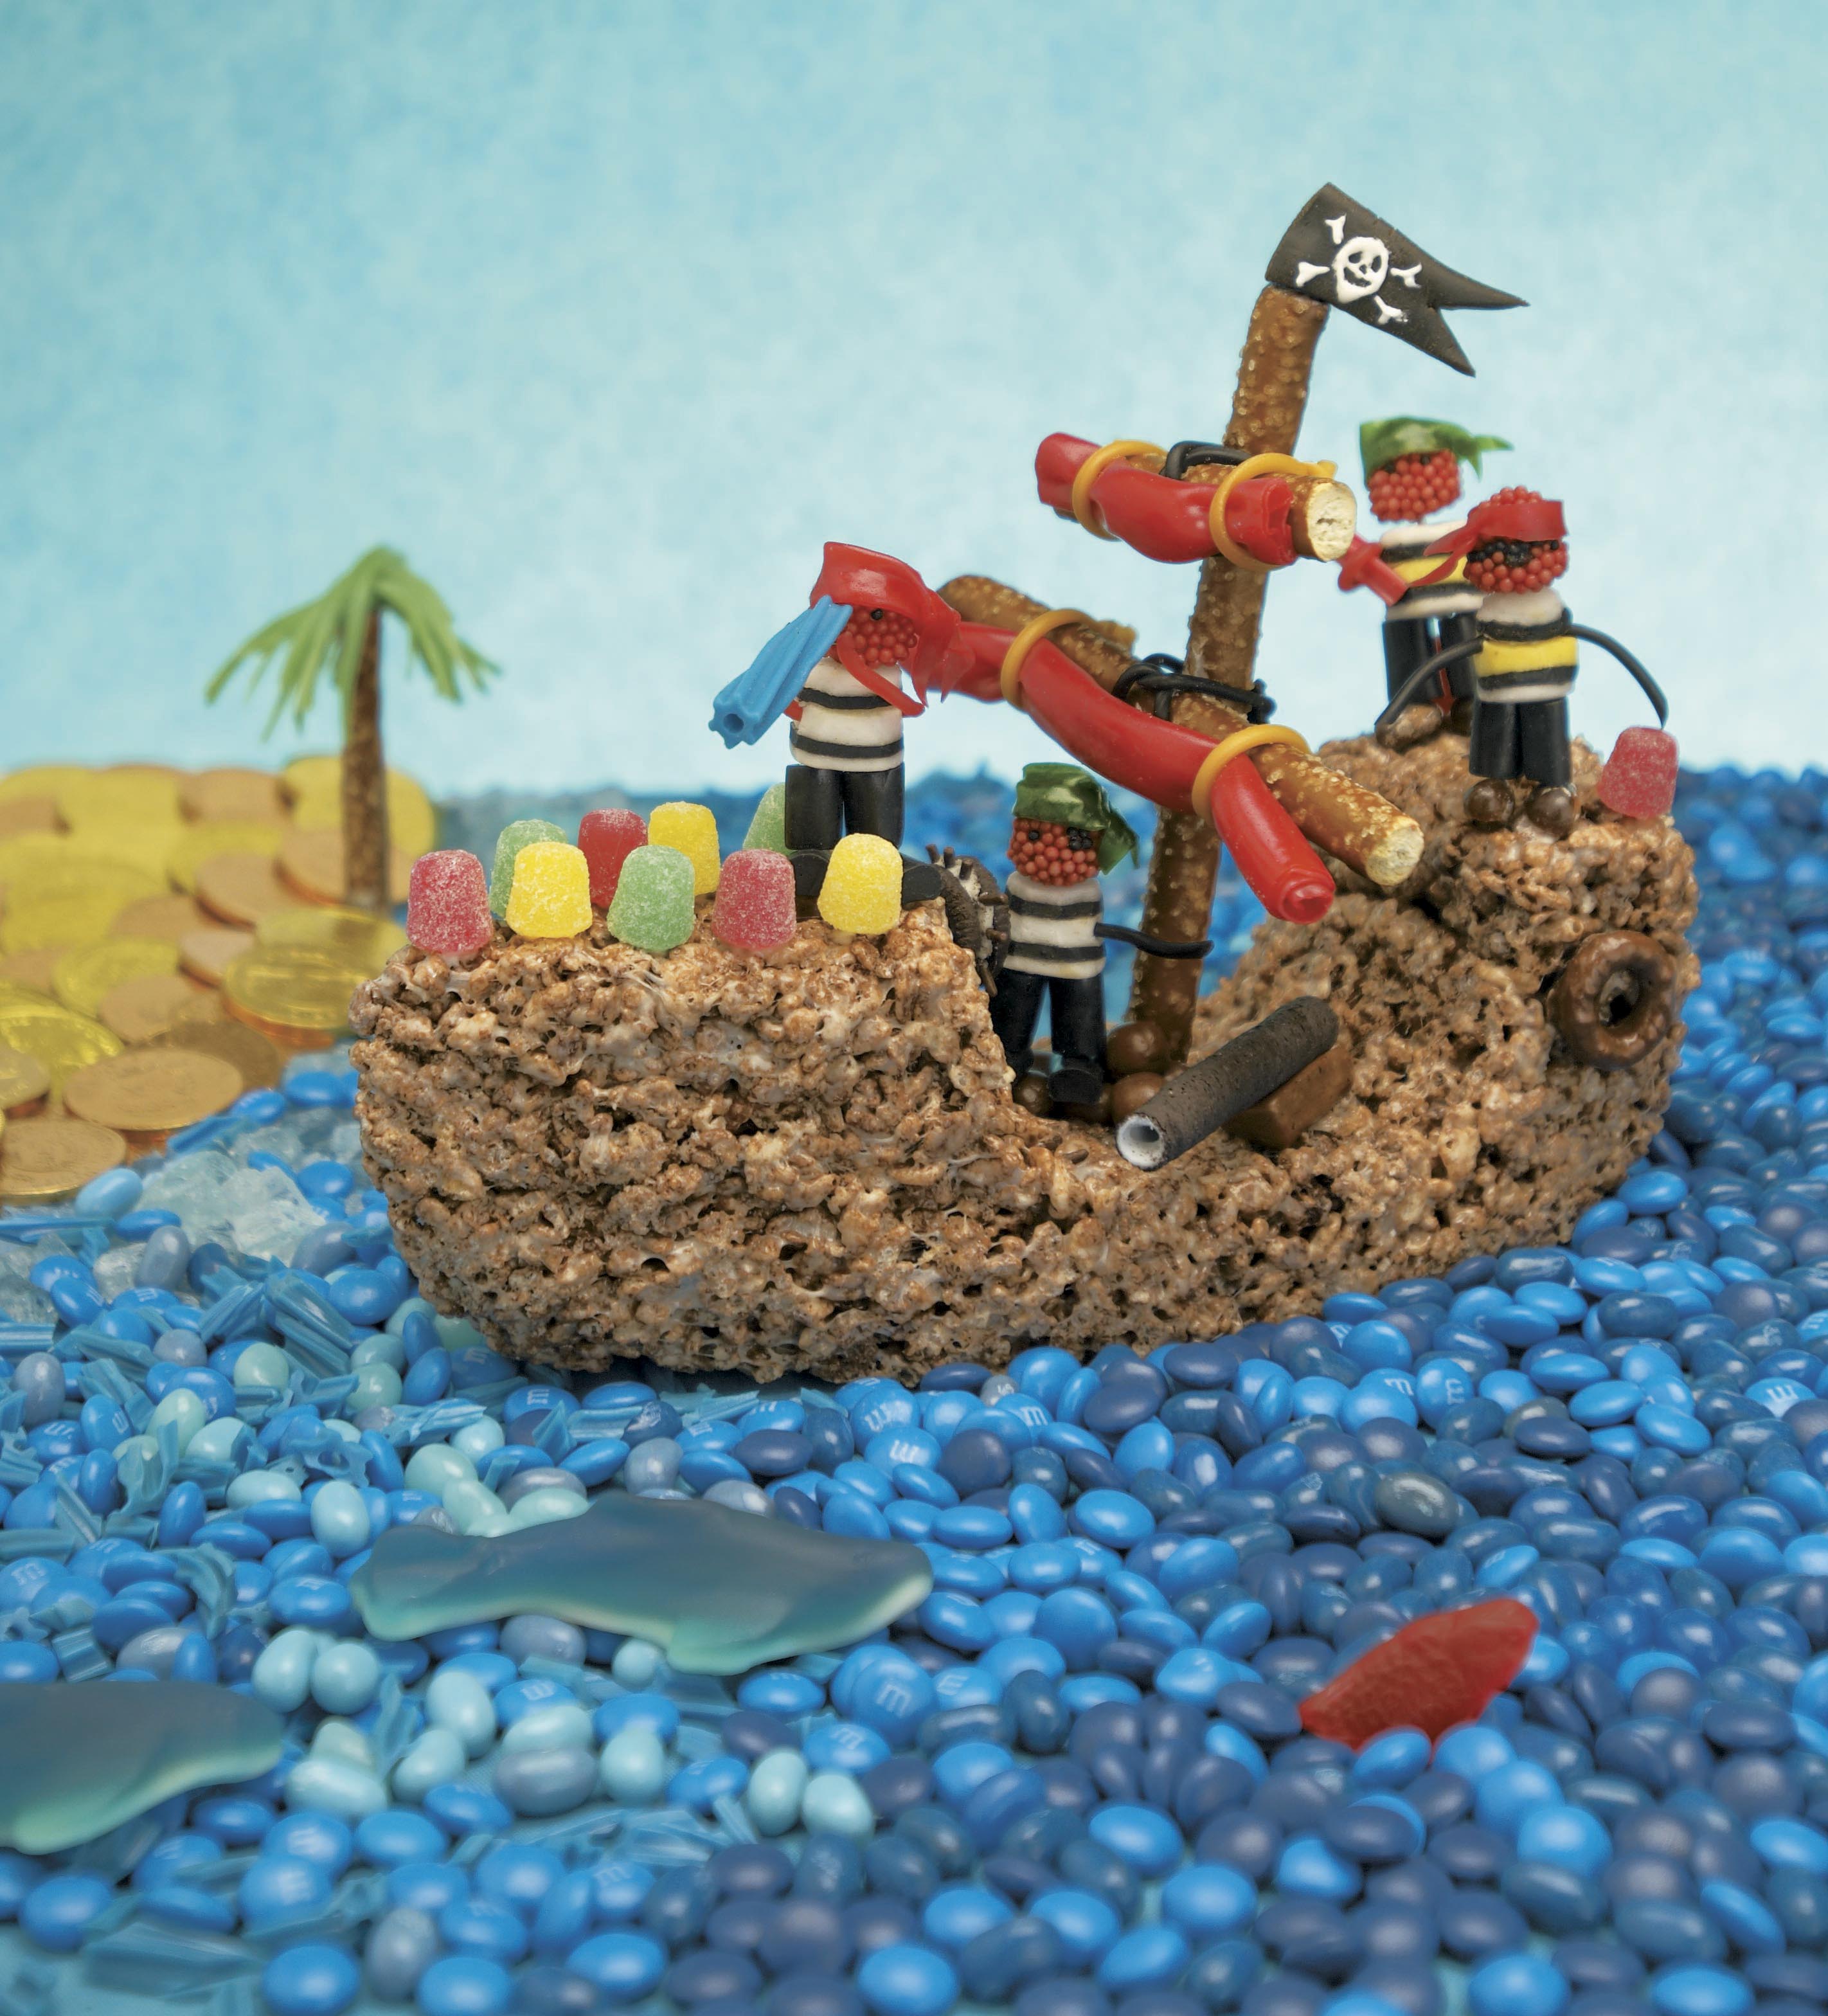
A pirate ship craft from Candy

Candy bracelets from Candy
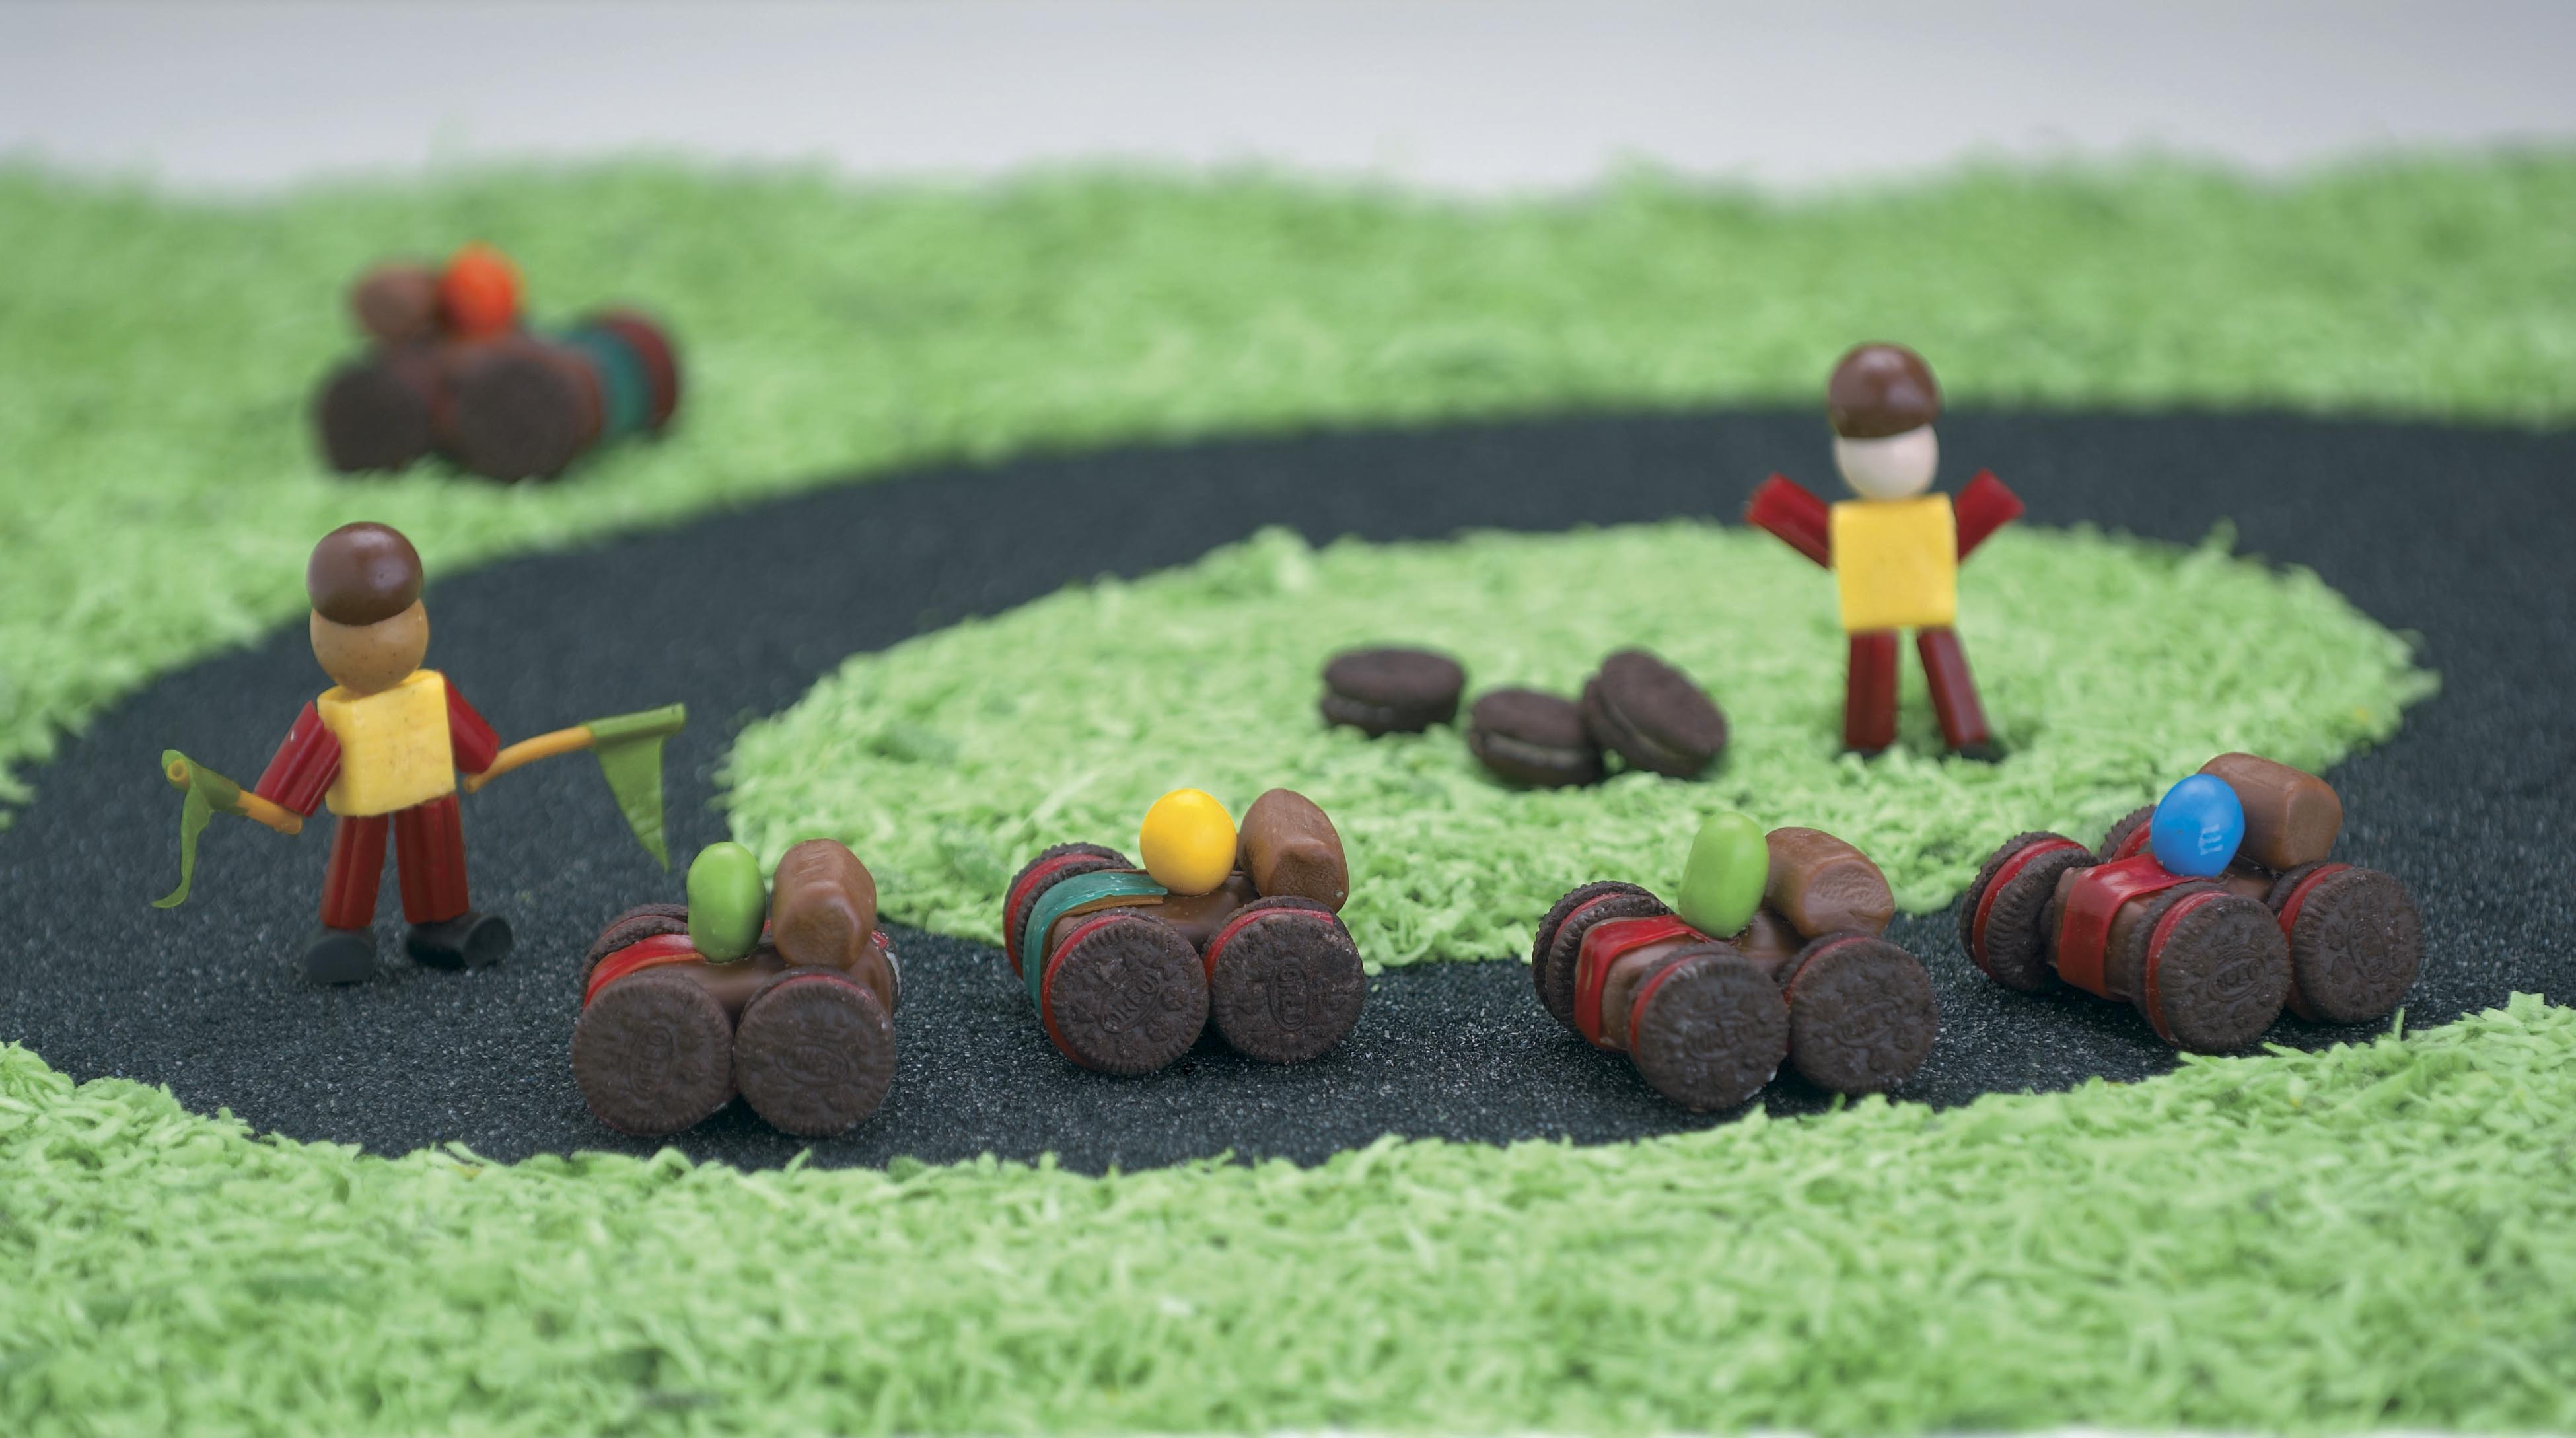
A race track craft from Candy
Sharon Bowers has an ingenious trick for distracting children from their post-Halloween sugary stashes: Use the candy as construction materials in crafts.
“How can a responsible parent let a kid enjoy candy without letting him stuff himself with junk?” asks Bowers in her well-timed book, “Candy Construction” (Storey Publishing, 2010). “The trick is not to EAT it but to make something WITH it.”
Bowers’ “Candy Construction” is a little book with big ideas, from a pirate ship whose hull is carved from a block of Rice Krispie treats to castles, a train and wearable jewelry. Her race car incorporates a Snickers bar, Reese’s Peanut Butter Cups, Hershey’s chocolate bars and sour candy strips.
Bowers, who lives in the Hell’s Kitchen neighborhood of Manhattan, is a literary agent and the author of last year’s “Ghoulish Goodies” (Storey Publishing, 2009). While testing recipes for that book, she hit upon ideas for this one, which is geared more toward entertaining kids. Her own two boys are 4 and 7.
“The kids really liked the projects (in ‘Ghoulish Goodies’) where they didn’t have to wait for me to bake something first,” Bowers says. “They loved the building.”
She noticed that her boys, while in the creative throes of construction, weren’t eating much of the candy.
“‘Wow,’ I thought, ‘they’re actually making Martian aliens and not putting marshmallows in their mouths,”‘ Bowers says.
Of course, it helps that Bowers lays some ground rules for her little construction workers. She lists them in her book:
No. 1: “Absolutely no eating while building. What construction worker snacks on the job?”
No. 2: “One item can be chosen from among the supplies, or one piece of what was built, but it’s to be eaten after cleanup.”
No. 3: “Candy construction workers always brush their teeth after work.”
Her boys obey the rules, Bowers has found, because creativity trumps sugar. The kids rarely want to devour their finished creations.
“I had a castle in my kitchen for a month because I couldn’t bear to throw it away,” Bowers confesses.
To stock one’s own candy construction site, Bowers recommends having these building blocks on hand: Oreos, including the minis, pretzel sticks, tubs of store-bought frosting (for “mortar”), and licorice string (it ties stuff together). She recommends visiting dollar stores with some regularity to pick up unusual candy on the cheap.
Bowers is committed to her confectionery craft: She keeps a large plastic bin full of store-bought candy for her children’s construction time. She recommends that other adults use her project ideas to get kids’ own creativity churning.
“When I let go and let (the boys) do it their own way, the payoff is really lovely time you can spend with your kids, even older kids, even teenagers,” Bowers says. “That has been really nice.”
Most of the projects in her book take less than an hour, says Bowers, and they’re not as messy as adults may think.
——
The Toy Car, adapted from “Candy Construction”
Bowers suggests novice candy construction workers start with this easy, fast project.
Supplies:
Miniature Snickers or other miniature chunky candy bar
Store-bought tub of frosting (or make your own)
4 mini sandwich cookies, such as Mini Oreos
1 mini Tootsie Roll
1 peanut M&M
Strip candy, such as Sour Strips or Sour Power Belts (you can substitute strip bubble gum)
Red decorating gel (optional)
Assembly:
- To make the body of the car: Use a sharp paring knife to carve a U-shaped curve out of the top of the candy bar for a cockpit.
- Glue four mini-sandwich-cookie wheels onto the sides with frosting.
- Glue a mini Tootsie Roll across the back behind the cockpit.
- If you like, cover the white filling of the cookie tires with decorating gel.
- To make the driver, dab a bit of icing on top of a peanut M&M and push it into the cockpit.
- Drape a slice of sour strip across the front to make a hood, using a thin slick of icing to glue it down. If you like, cut a narrow strip of a different color and add a contrasting racing stripe down the middle.