Behind the Lens: Setting up your new camera
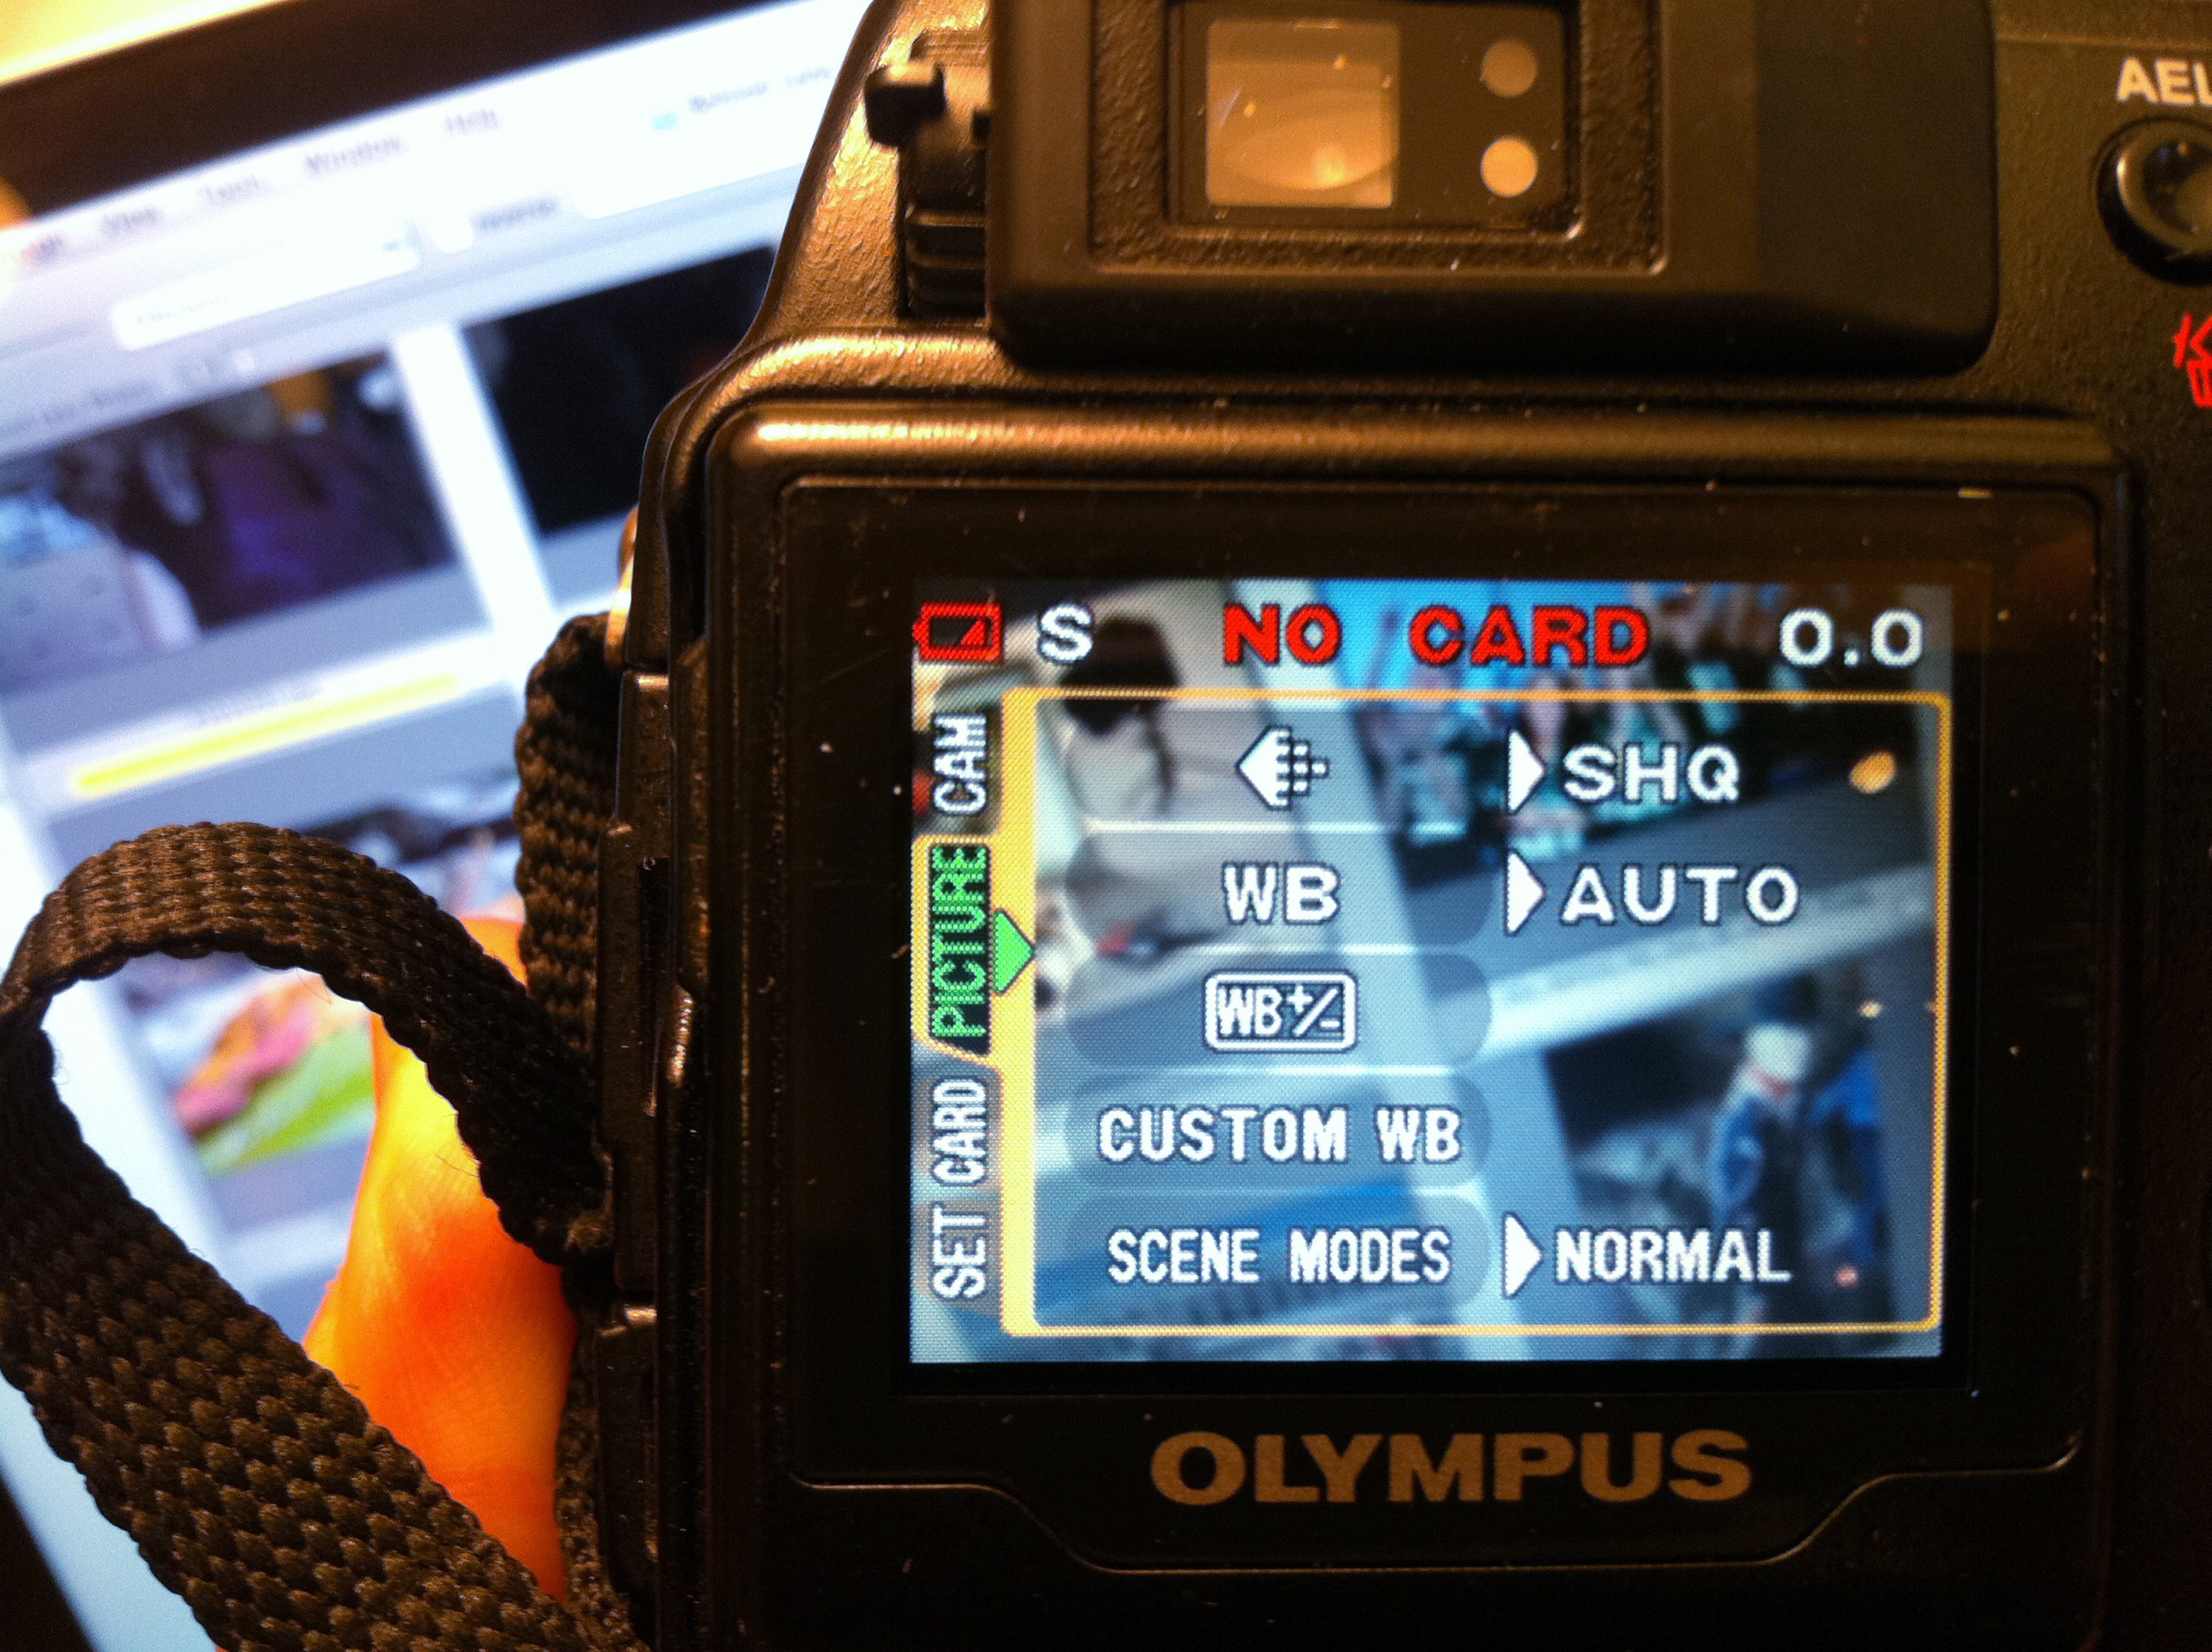
Setting up a camera entails getting into the menu and making choices on how you want your camera to capture images. In this menu the white balance (WB) has been set to automatic and the quality to it's highest JPEG setting at super

Setting up a camera entails getting into the menu and making choices on how you want your camera to capture images. In this menu the white balance (WB) has been set to automatic and the quality to it's highest JPEG setting at super
Now that many of you have possibly unwrapped a new camera over the holidays, I’ll provide some tips on setting your camera up to get the best results. Although controls and menu operations will be different from camera to camera, these tips apply to almost all digital cameras.
- Get a second battery. Batteries are not expensive, and they are small enough to carry in camera bags and pouches. You’ll never regret owning a backup battery, and you’ll save yourself the frustration of losing power during important photo opportunities. Take your camera with you to the store to ensure getting the correct battery.
- Open your camera’s menu and scroll to find a setting referring to image quality or image size. Select the highest-quality or largest file size you see in the list. This is probably the most important setting you can make on your camera. This ensures that you are getting the highest-resolution image capture possible with the camera. For most cameras this will be a high-quality JPEG — a compressed file openable on most computers. If you are experienced in working with photo software programs like Photoshop, you may want to select a quality setting that captures both a high-resolution JPEG file and a RAW file. A RAW file is basically an unprocessed file that provides you with a lot of latitude to make after-the-shot adjustments to a photograph, including color balance and exposure.
- Get a larger-capacity memory card. The memory card that usually comes with a camera is totally inadequate. To start capturing high-resolution images and RAW files, you will need larger-sized cards. The majority of cameras these days take Secure Digital (SD) cards or Compact Flash cards. If you are an occassional snapshooter, you’re probably fine with a 1-2 gigabyte (GB) card. Look for 4-8GB or more if you start experimenting with RAW files or just take a lot of photographs between downloads.
Other recommendations on a few settings.
l Color balance: Stick with “auto.” Most cameras do a good job.
l ISO: “Auto” again will serve you well. Just be aware that darker environments will require higher ISOs and that will result in noisy or grainy images.
l Exposure: Automatic (A), Shutter or Time priority (S/T) and Aperture priority will all provide decent exposures. Knowing how each is affecting your photograph is a must. The camera makes all the choices on (A) or Program (P). Choosing (S/T) means you are taking control of the time element of your camera. Selecting (A) is giving you control on the size of the aperture and the amount of light entering your camera. Reference this past column for more information regarding the functions controlling your camera’s exposure.
City Government

City of Lawrence ‘assessing options’ in the wake of racist and antisemitic hate speech shared at recent commission meeting

City of Lawrence campsite reporting form has received 230 reports since October; only 57 campsites confirmed

City Commission meeting interrupted by racist, antisemitic hate speech

Lawrence City Commission set for light agenda this week

Campers who remain at North Lawrence site after closing date will be trespassed, but city doesn’t expect that to happen
